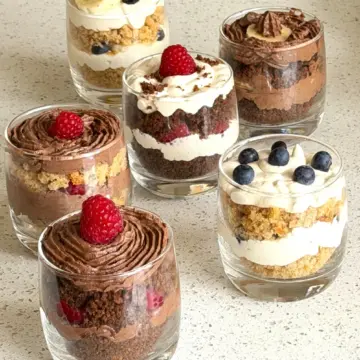
Cake cups are the perfect solution for serving cake without the hassle of slicing or plating perfectly. They are individually portioned - great as a small snack that's fun to eat, plus easy to transport to your next-door party. They look incredibly impressive but are surprisingly easy to throw together.
Sometimes called "desserts in a cup" or smaller "dessert shooters," they are also a brilliant rescue for a baking mishaps (not that is ever happens, right 😉 ). If you bake a cake that crumbles easily or just doesn't hold its shape nicely, don't worry! Just crumble it up on purpose and turn it into these beautiful cake cups instead.
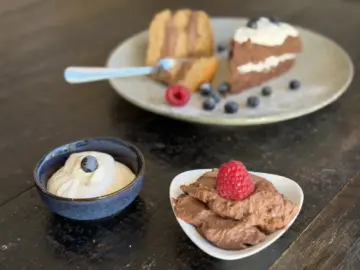
The secret to this delicious cake cups recipe lies in combining our two favorite staple recipes: my grandmother’s wholesome one-bowl vanilla and chocolate cakes and our luxurious, no-cook Mascarpone and Crème Fraîche fillings.
Both these wholesome cakes and the rich fillings come with simple chocolate and vanilla variations. By mixing chocolate and vanilla cake with chocolate and vanilla fillings plus a few types of fresh fruit, you can create many variations of an easy-to-make dessert that tastes as good as it looks.
Whether you need elegant potluck desserts for a crowd or a special treat for Mother's Day, these cake cups fit the bill perfectly.
Table of Contents
The Components: Getting Ready to Assemble
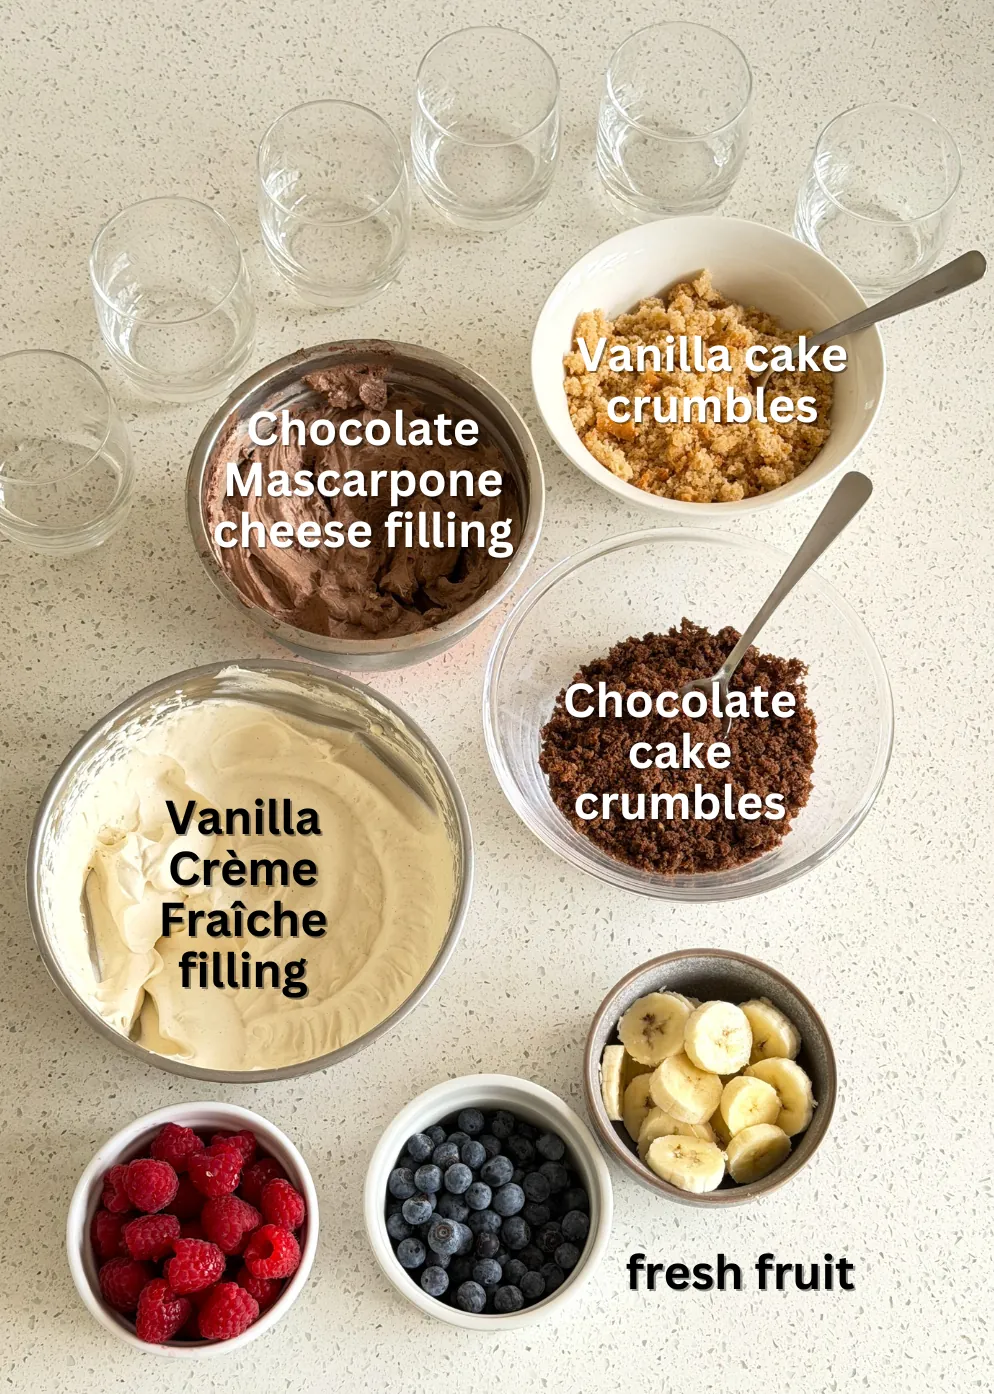
Before you start layering, you want your building blocks ready. We recommend baking both the vanilla and chocolate cakes, and whipping up both vanilla and chocolate fillings to allow for maximum mix-and-match potential!
1. The Cake Base
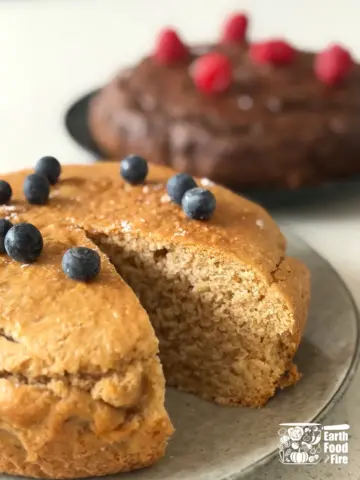
You will need one batch of fully cooled cake. We use our Easy One-Bowl Cake Recipes. Because these use whole wheat flour and unrefined sugar, they have a lovely, sturdy crumb that holds up perfectly when layered without turning mushy.
Grandmother's Easiest One-Bowl Cake (Vanilla or Chocolate)
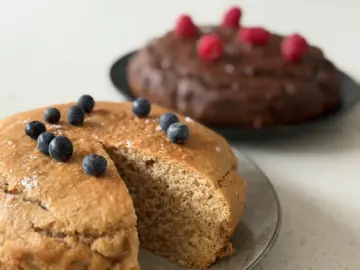
However, you can absolutely use your own favorite cake recipe for this, too!
2. The Cream Filling
You need some luscious filling to bind the layers together. Our Cake Cream Filling Recipes - either the Rich Chocolate Mascarpone or the Tangy Vanilla Crème Fraîche - are ideal because they require no cooking and are stable enough to pipe beautifully.
No-Cook Cake Cream Fillings
3. The Fruit & Add-ins
Fresh fruit adds brightness and texture. Have sliced bananas, raspberries, blueberries, or strawberries ready.
4. The Containers
You’ll need about 12 glasses or jars (depending on the size of the cake cups you want to make).
The Method: How to Build Your Cake Cups
Assembly is quick. It also makes for a great activity to do with kids.
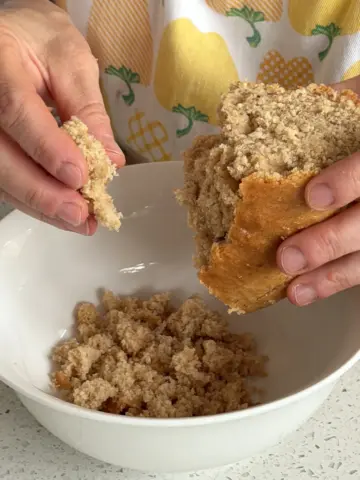
1. Crumble the Cake
Take your fully cooled cakes and crumble them into bowls. You can do this easily with your hands or a fork. You want coarse crumbs, not fine dust.
2. The First Layer
Start by spooning a layer of cake crumbles into the bottom of your glass.

Crucial Tip: Gently press this layer down with the back of a spoon or a small muddler to create a firm base.
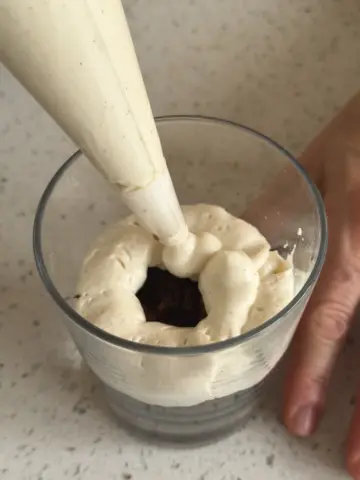
3. The Filling
Add a layer of your chosen cream filling.
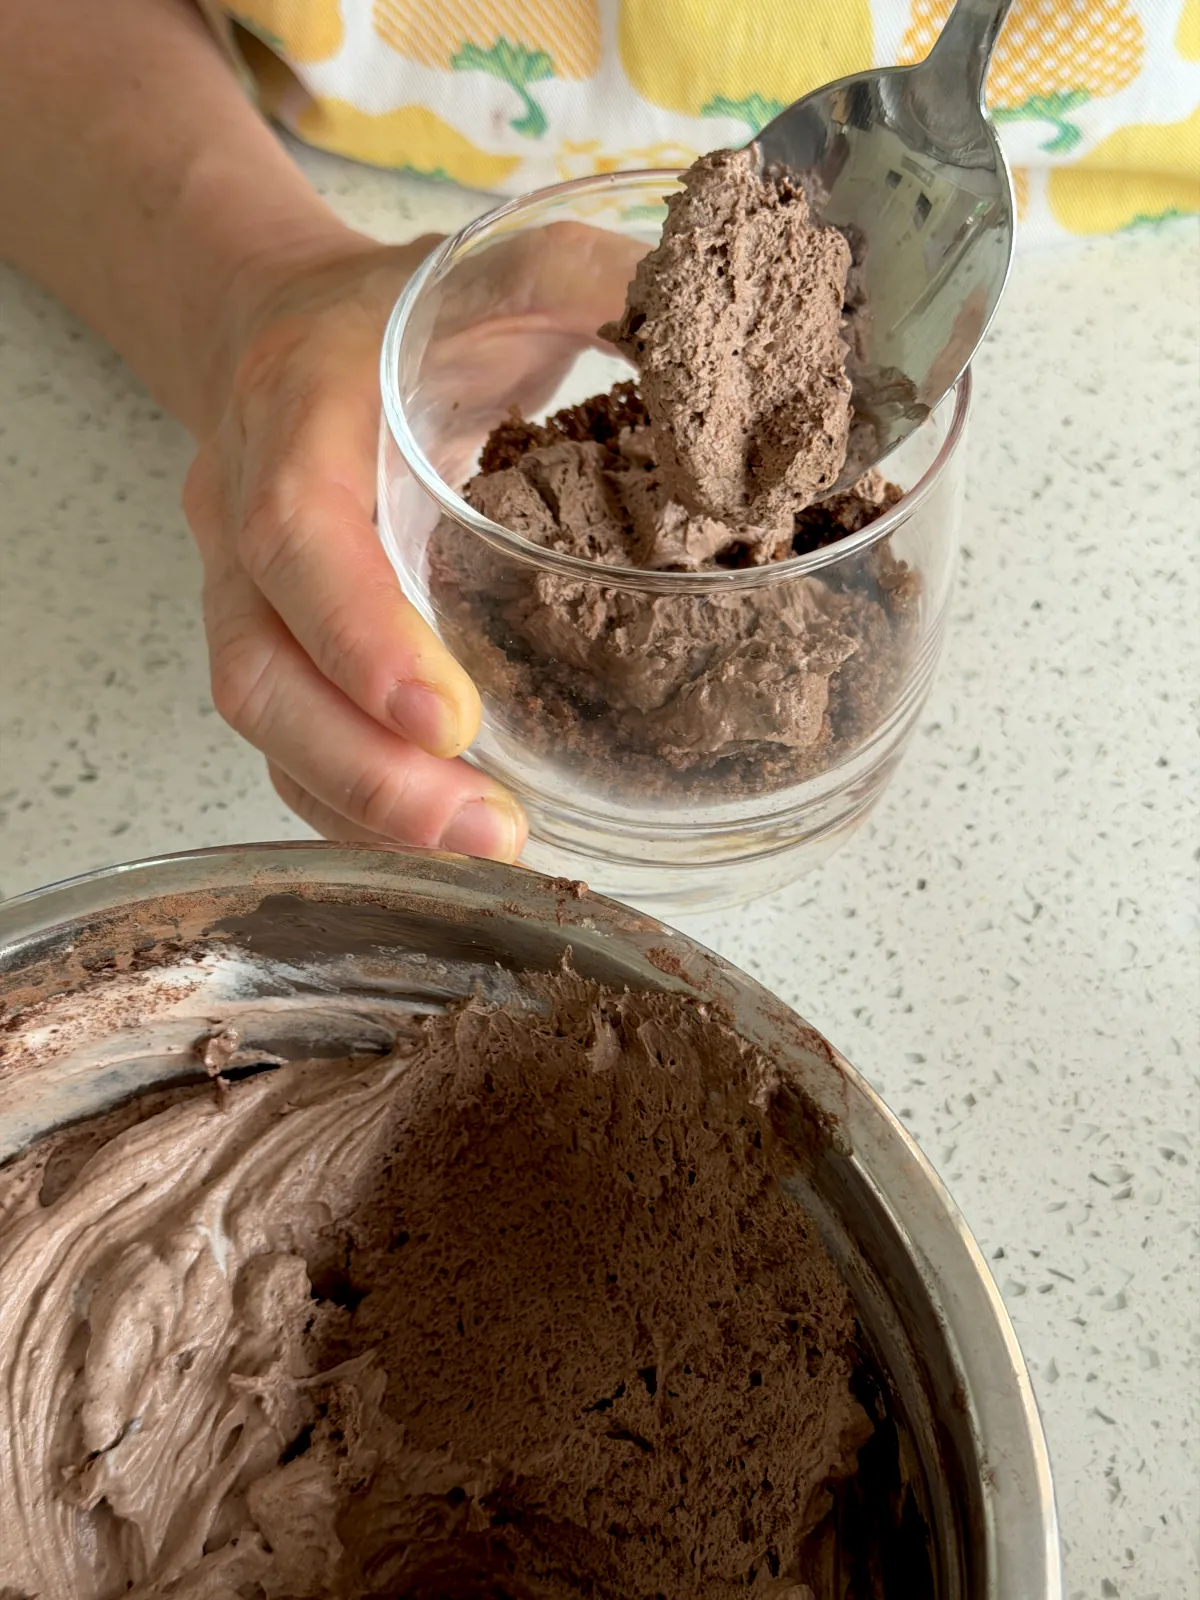
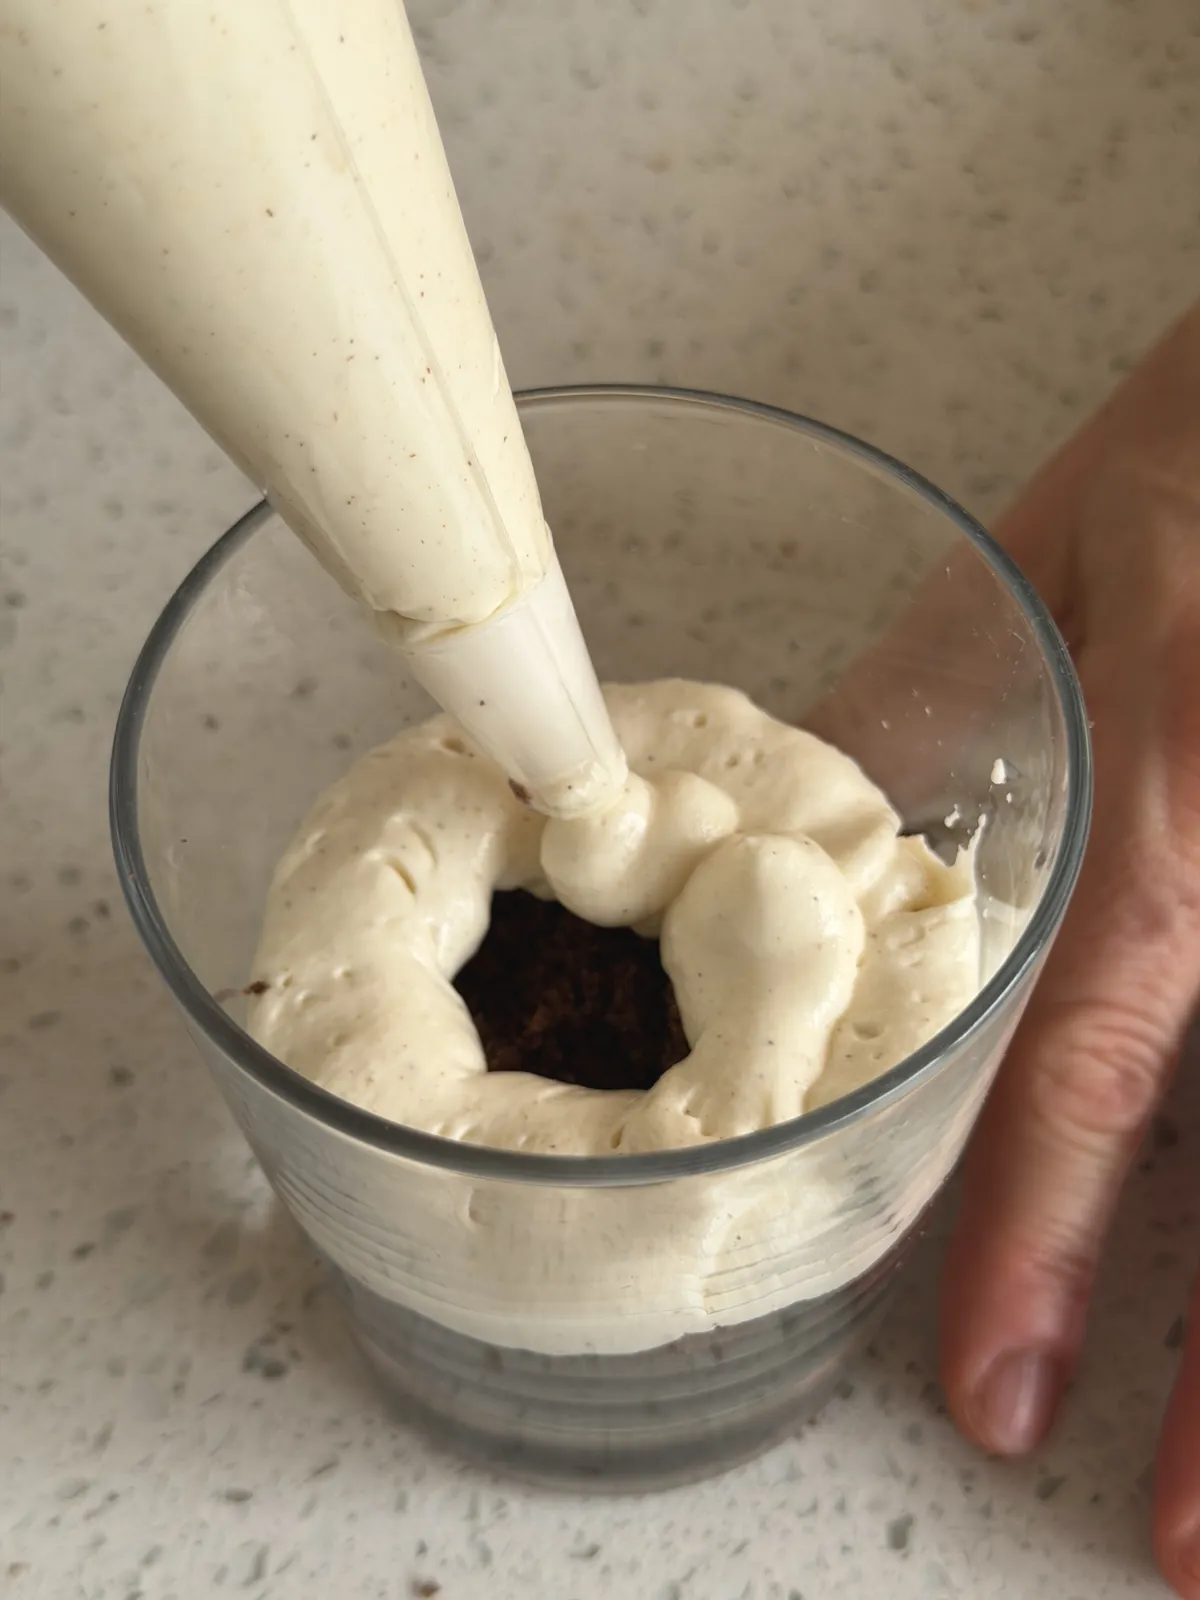
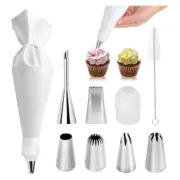
Hot Tip: While you can use a spoon, we find it much easier and neater to transfer the filling to a piping bag (or Ziploc bag with the corner snipped off) to pipe the layer into the glasses.
While spooning in the filling is faster, it is hard to control. For the cake cups to look nice, you really want distinct layers of cake and filling alternating on the outer edges of the glass. For that, you need to push the filling tightly to the top of the cake and towards the glass, otherwise you end up with lots of unsightly gaps and bubbles. Also, with the spoon, it is much easier to mess up the clean glass with the cream sticking out in all directions from the spoon. So, a piping bag is what we strongly recommend.
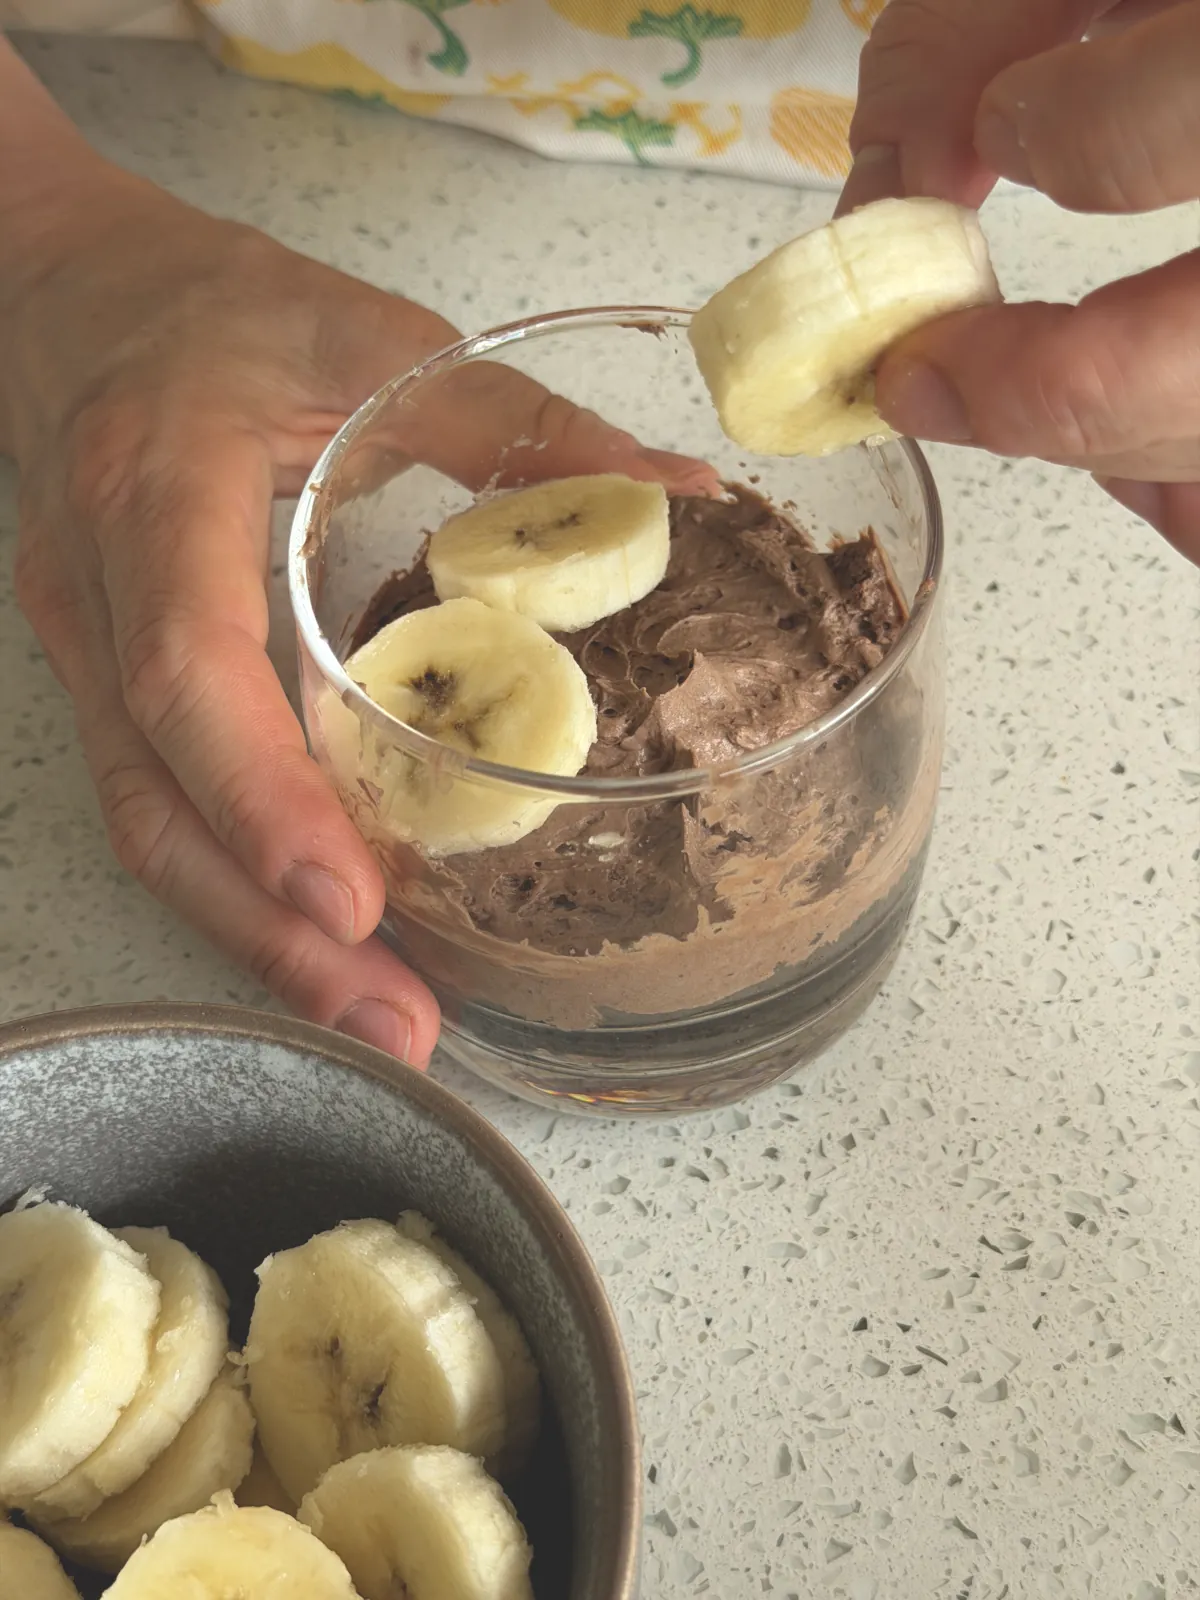
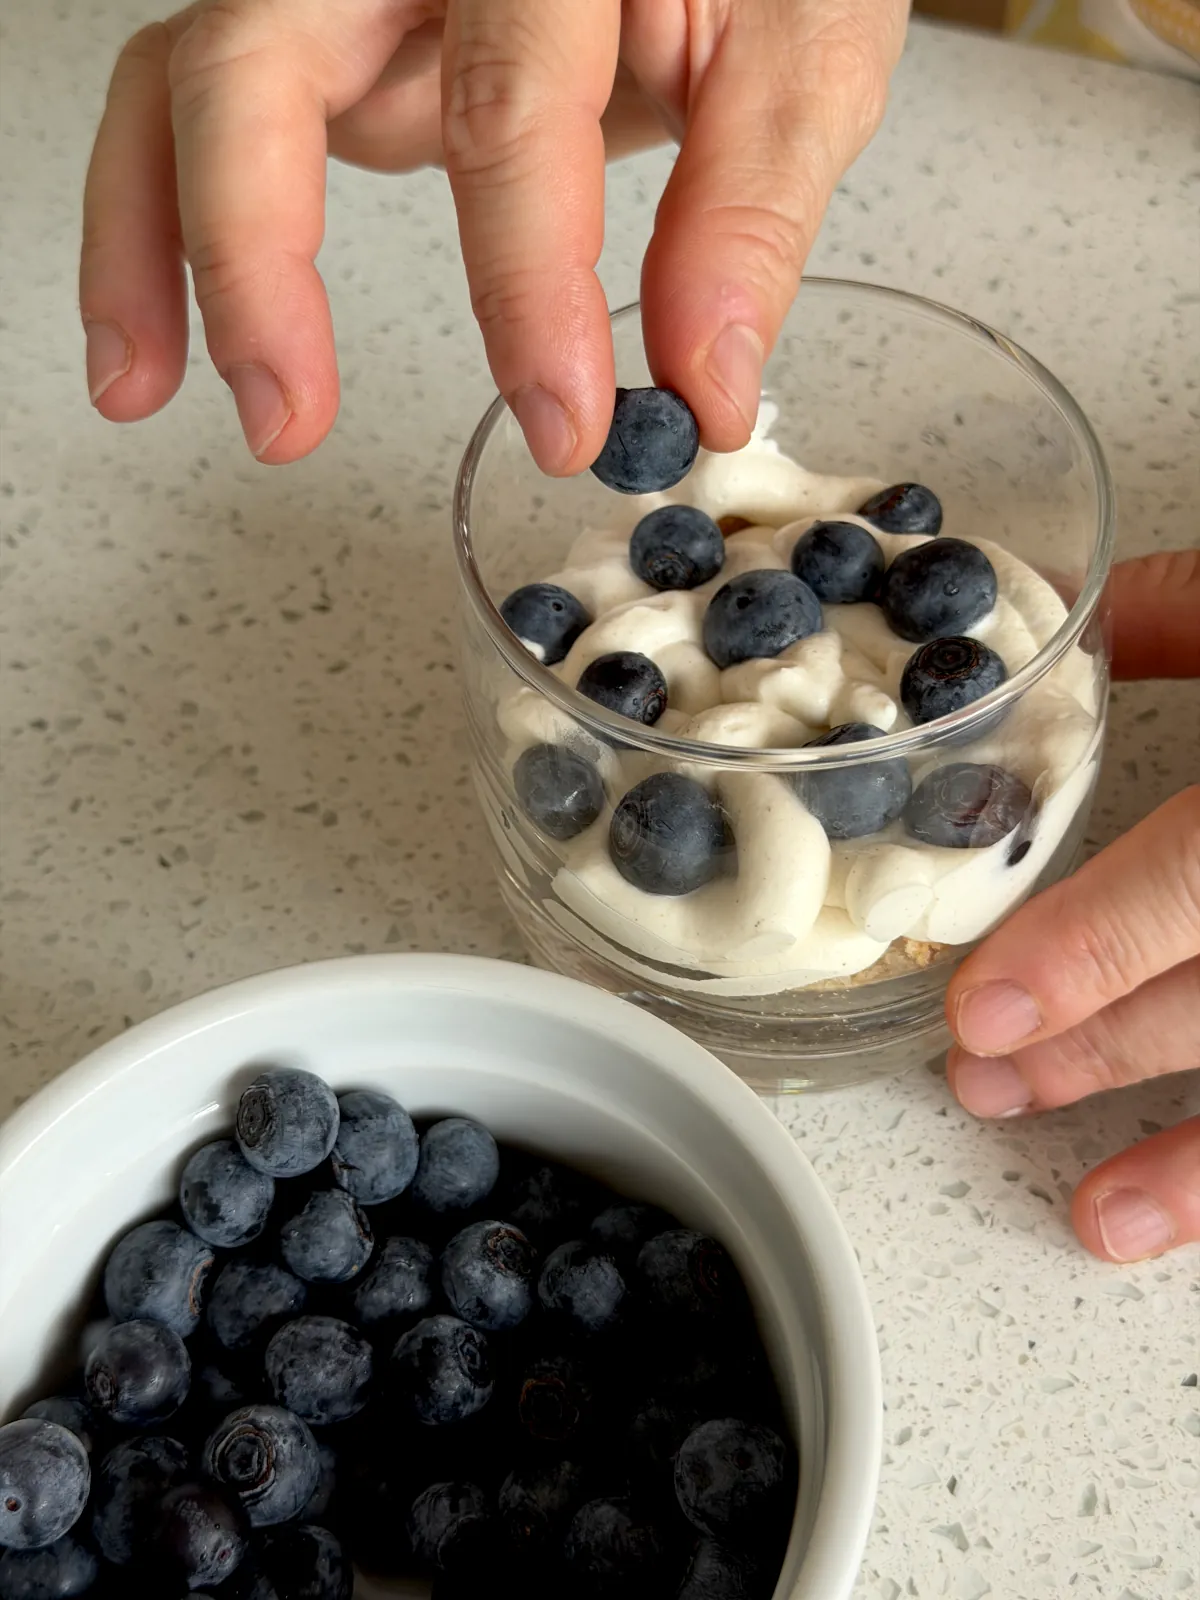
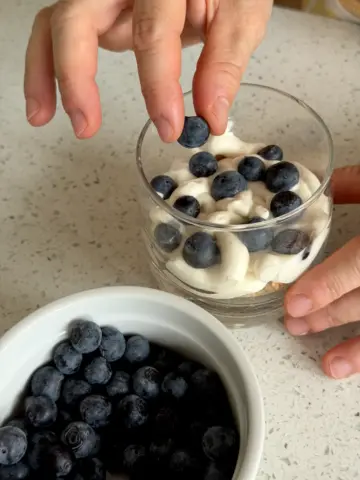
4. The Fruit
Add a few pieces of fresh fruit on top of the filling. Press a few pieces also gently into the filling along the sides of the glass, so they touch the glass and are visible from the outside. Again, while it does not change the taste, it does marvels for your cake cups presentation.
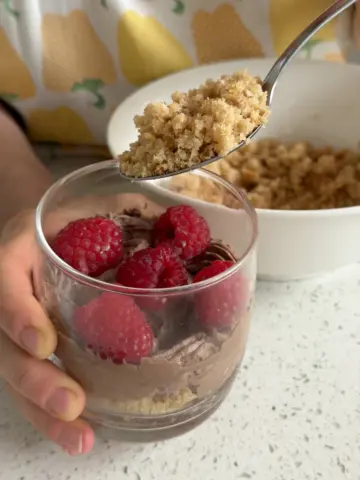
5. Repeat and Top
Repeat the process - add another layer, or layers, of cake crumbles (gently pressed down again), with a layer of cream and fruits, until you fill your cup about half an inch (1cm) under the rim of the glass.
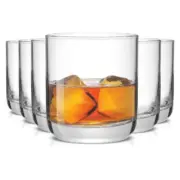
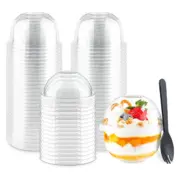
We have used old-style rocks glasses, and ended up with just two layers. But if you are filling plastic dessert cups to take to an outdoor party, they will likely be taller and will need three or even more layers.
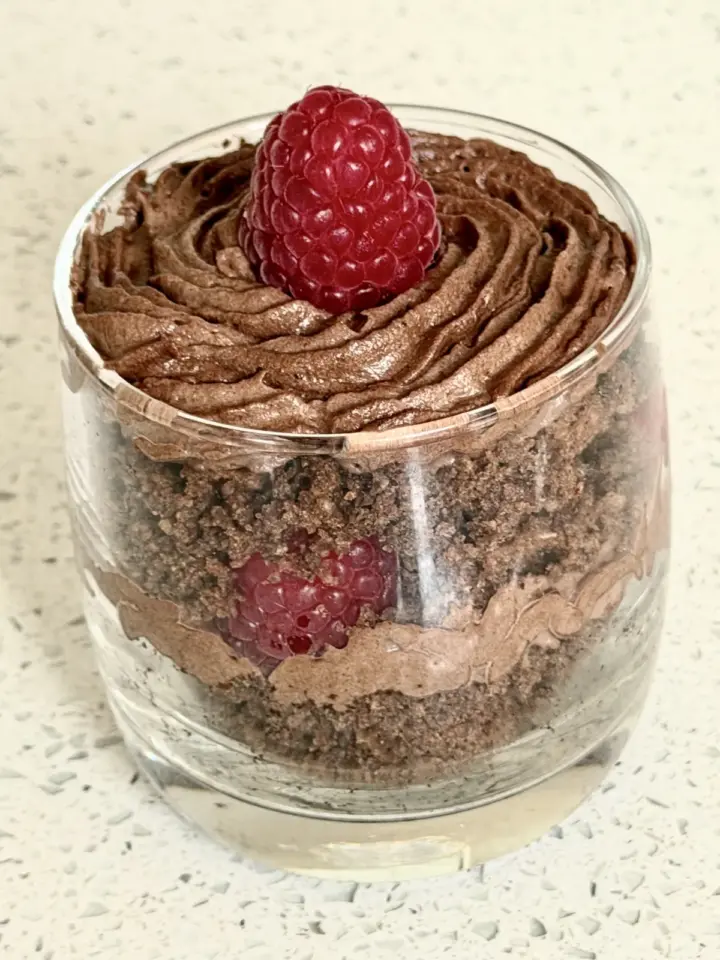
We like to finish the cake cups with a swirl of filling on top, then garnish them with fruit.
For the amount of cake and filling: When we baked both cakes and prepared both fillings according to the amounts in the recipes provided, we filled up 12 generous old style whiskey rocks glasses.
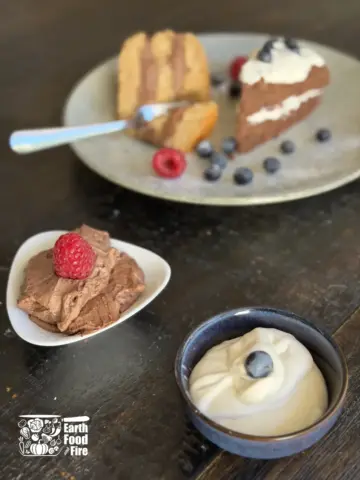
Flavor Combinations We Love
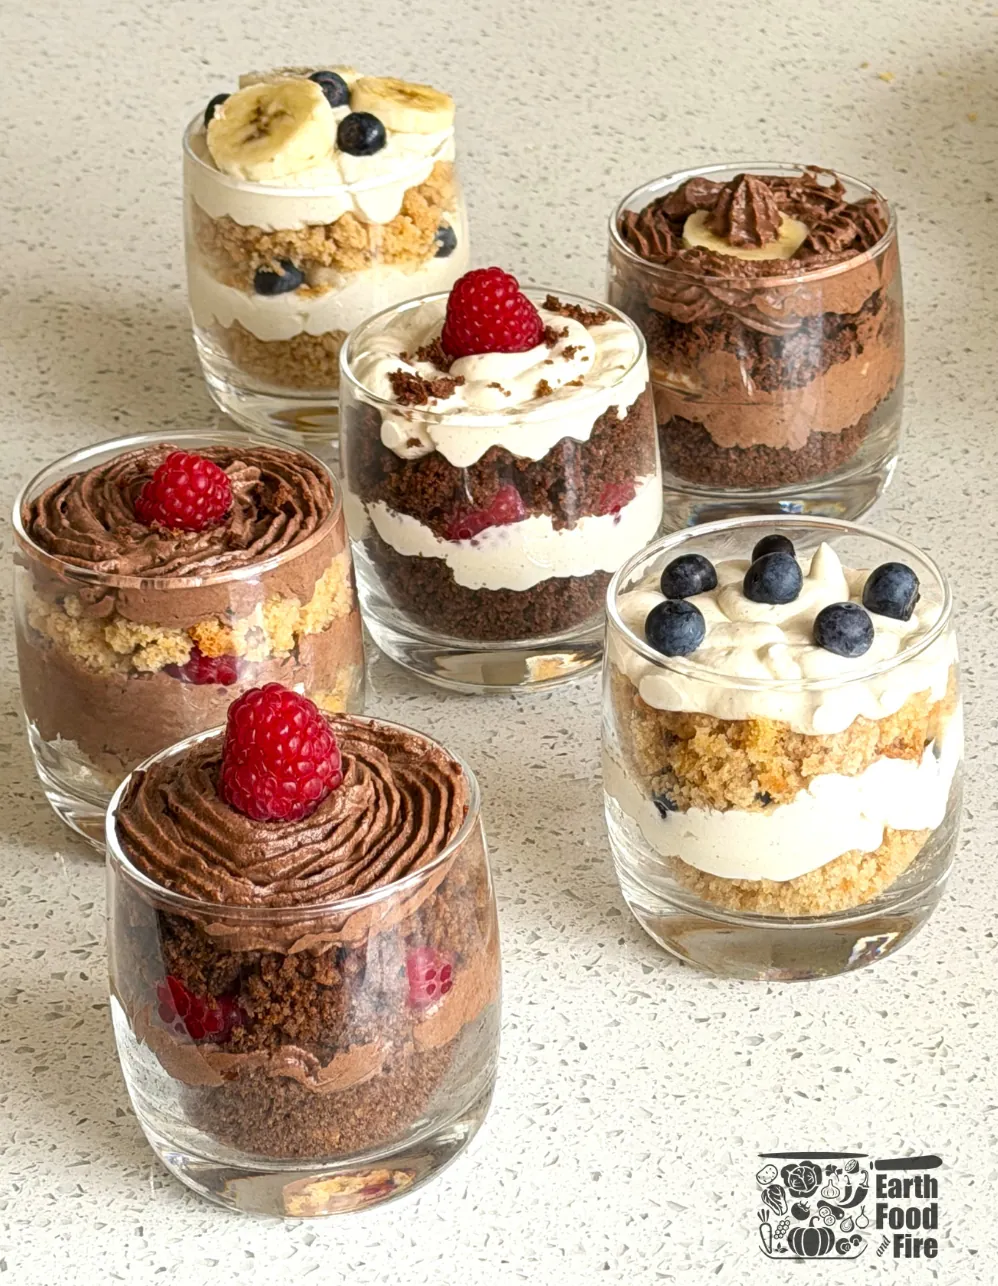
We baked both vanilla and chocolate cake variations and prepared both fillings, again in vanilla white and chocolate brown, to give plenty of options to mix and match both flavors and visual design. Here are some of our favorite combinations:
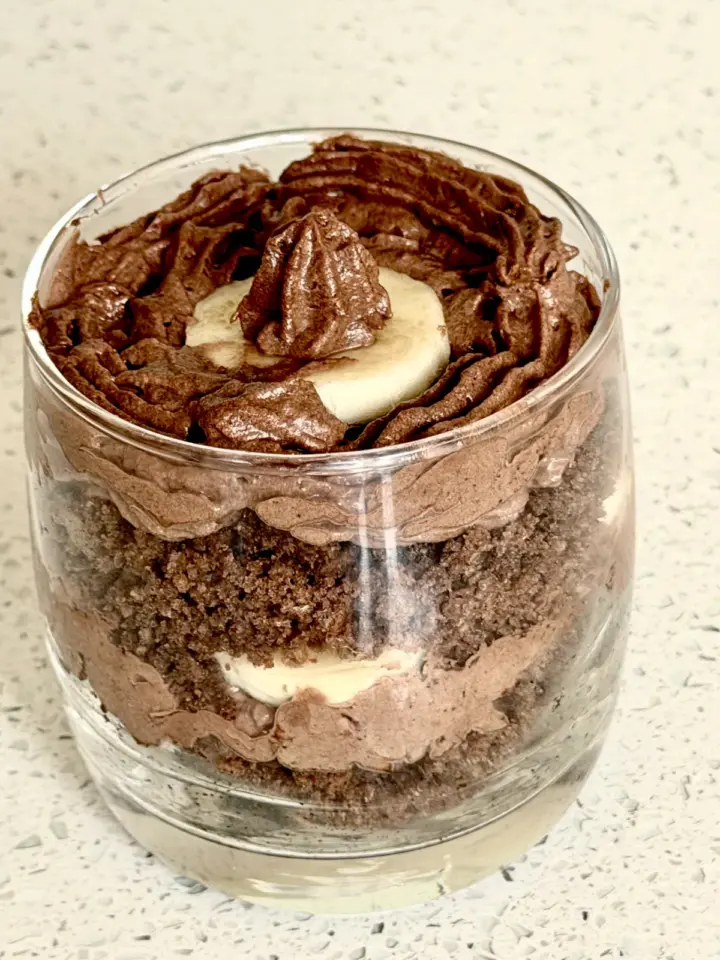
- The Classic Chunky Monkey: Chocolate cake crumbles + rich chocolate filling + sliced bananas.
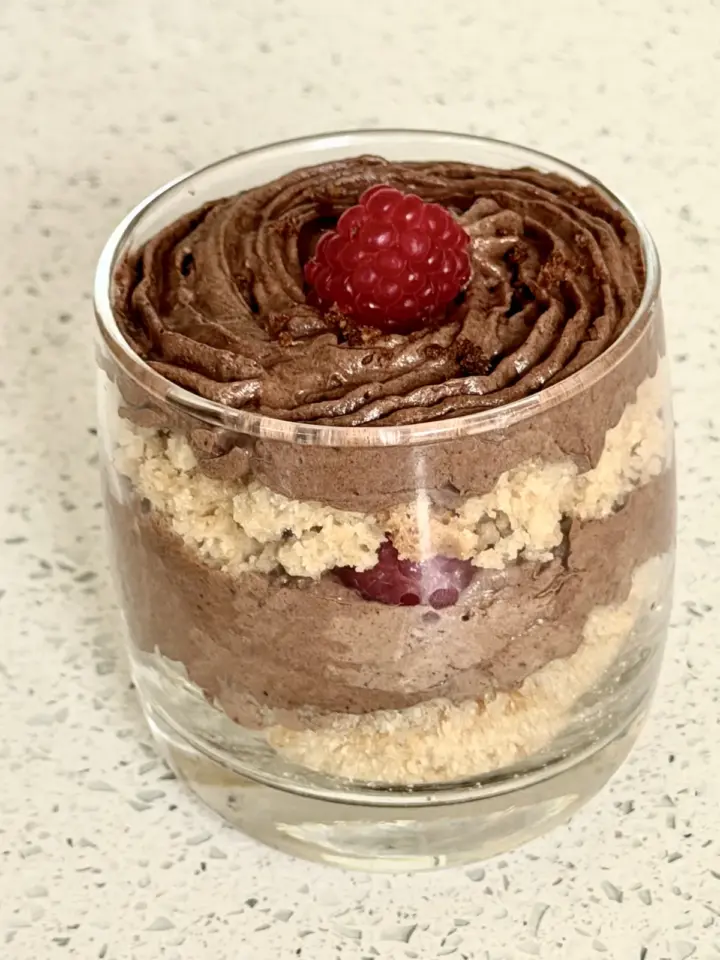
- The Tart & Rich: Chocolate cake crumbles + tangy vanilla Crème Fraîche filling + fresh raspberries.
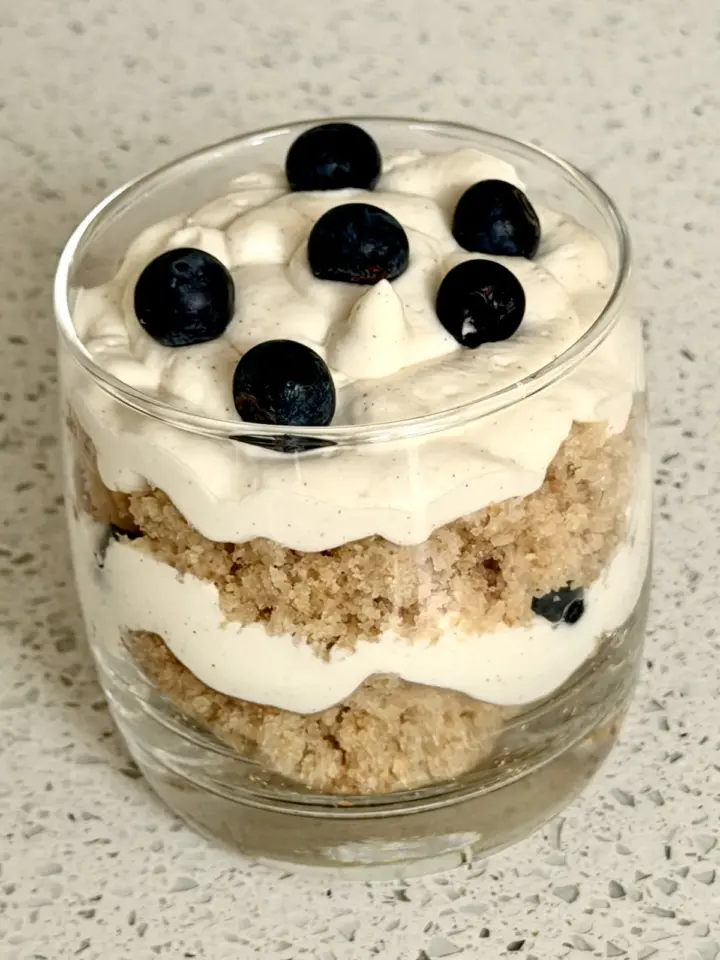
- The Berry Patch: Vanilla cake crumbles + tangy vanilla Crème Fraîche filling + fresh blueberries.
- The Contrast: Vanilla cake crumbles + rich chocolate Mascarpone filling + fresh raspberries.
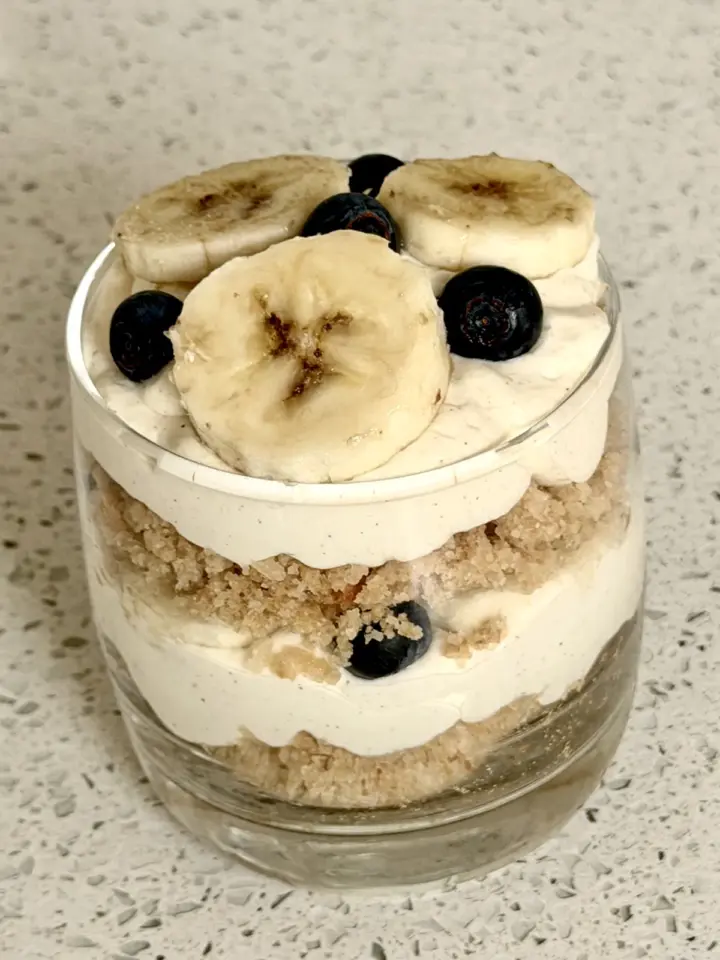
- The "Everything Nice": Vanilla cake crumbles + vanilla filling + bananas and blueberries mixed.
Serving Suggestions: From Elegant to Casual
This cake cups recipe is incredibly versatile, depending on how you serve it.
For an Elegant Dinner Party or Mother's Day
Serve these in stemless wine glasses, pretty glass tumblers, or small mason jars. The layers look beautiful through the glass.
Decorating Idea: Top with a sprig of fresh mint, chocolate shavings, or a dusting of cocoa powder for a sophisticated finish. These make excellent "dessert shooters" for a standing cocktail event, too.
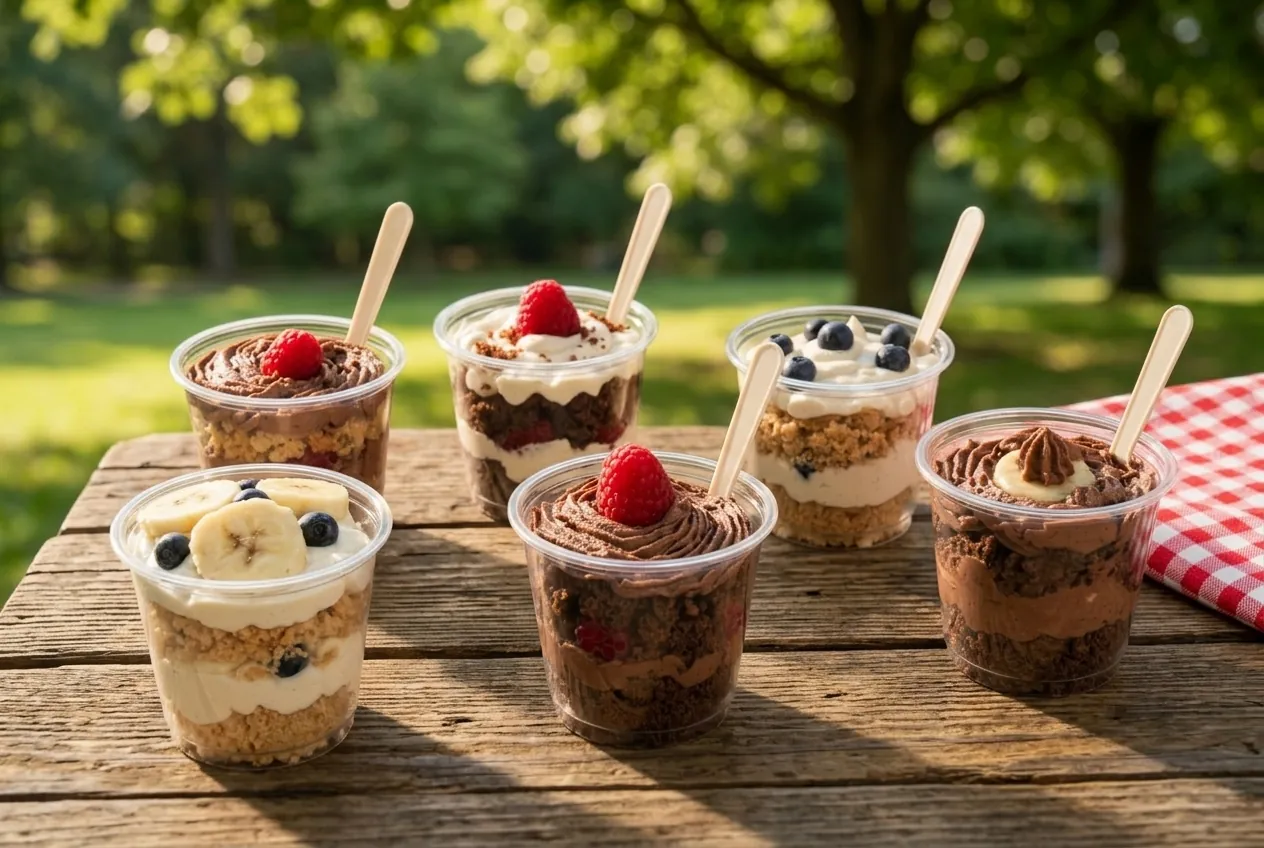
For Picnics, BBQs, and Potlucks
These are the ultimate no-mess party desserts and excellent picnic food. Build them in clear plastic dessert cups that have fitted lids. You can pack them in a cooler, transport them easily without fear of icing getting ruined, and guests can easily grab one while mingling.
Made the recipe? Comment & Rate it below, then take a picture and tag us on Facebook. For more homemade cooking from scratch recipes, follow us on Facebook & Pinterest.
Recipe
Easy Layered Cake Cups
Equipment
Ingredients
- 1 batch fully cooled Vanilla or Chocolate cake (easy cakes recipe)
- 1 batch Mascarpone or Crème Fraîche Filling (no-cook fillings recipe)
- 2-3 cups Fresh Fruit (berries, sliced bananas, etc.)
Instructions
Assembly Instructions:
- Place cake crumbles in the bottom of your chosen vessel. Press down gently to compact slightly.
- Pipe or spoon a layer of cream filling over the cake.
- Add a layer of fresh fruit.
- Repeat with another layer of cake (press again), and a final layer of filling.
Decorate:
- Top with extra fruit, chocolate curls, or mint leaves.
Storage:
- Cover and refrigerate for at least 30 minutes before serving to let flavors meld. They can be made a day in advance, though banana slices may brown slightly.
Notes
Nutrition
Nutrition info is auto-generated. This information is an estimate; if you are on a special diet, please use your own calculations.
Vstar
Delicious and easy recipe that I made for my 7 Year old birthday picnic in the park. I made the Berry Patch and sprinkled some hundreds and thousands to make it a fun theme. I'm going to try making the Classic Chunky Monkey next Friday for our movie night in.