Growing parsnips is a wonderful addition to your garden.
Parsnips are a cool weather vegetable. They are one of the first items we plant and the last one to harvest. They require a long growing season of 130+ days and need to be started as early in the season as possible.
This post contains affiliate links for which we may be compensated if a purchase is made through the links provided at no extra cost to you. For more information, please read our affiliate disclosure.
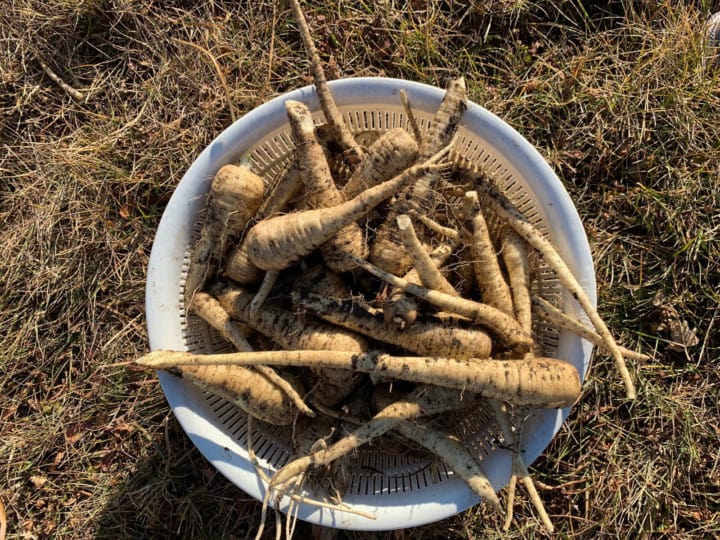
How To Plant Parsnips
Similar to carrots, parsnips are root vegetables and grow long roots down into the soil. There are a few differences, the main one being length. They grow much deeper into the ground so take that into consideration when selecting a planting spot. Growing parsnips in garden boxes will work provided they are deep enough.
Access is also important when planting. Because the roots go quite deep you will need room to dig out the soil surrounding the parsnip at harvest time.
Because the foliage of the plants is short you can place them at the front of the garden without the worry of shading the other plants.
Buy fresh parsnip seeds every season. They have a short storage life so using fresh seed is important. We recommend a heirloom variety such as Hollow Crown or Harris Model, both of which are available through our affiliate, True Leaf Market.
Prepping The Planting Spot
Work the soil well adding amendments like peat moss, compost and sand if needed. Sand creates lighter soil with better drainage capabilities. This is great in areas where the soil is compact and important for growing parsnips. The less resistance makes for bigger better roots.
Smooth out the soil with a rake removing any larger stones. Stake out the rows using pegs and garden twine. This helps make nice straight, easily spaced out rows. If growing more than one row, space them a foot and a half apart.
Planting Parsnip Seeds
Using the handle of the rake make a valley along the length of the twine. Space the parsnip seeds about 10 cm apart at a depth of ½ inch. Using your rake, cover the seeds with soil. Tamping the soil removes air pockets and keeps the seeds in place. Water lightly making sure to not create run off.
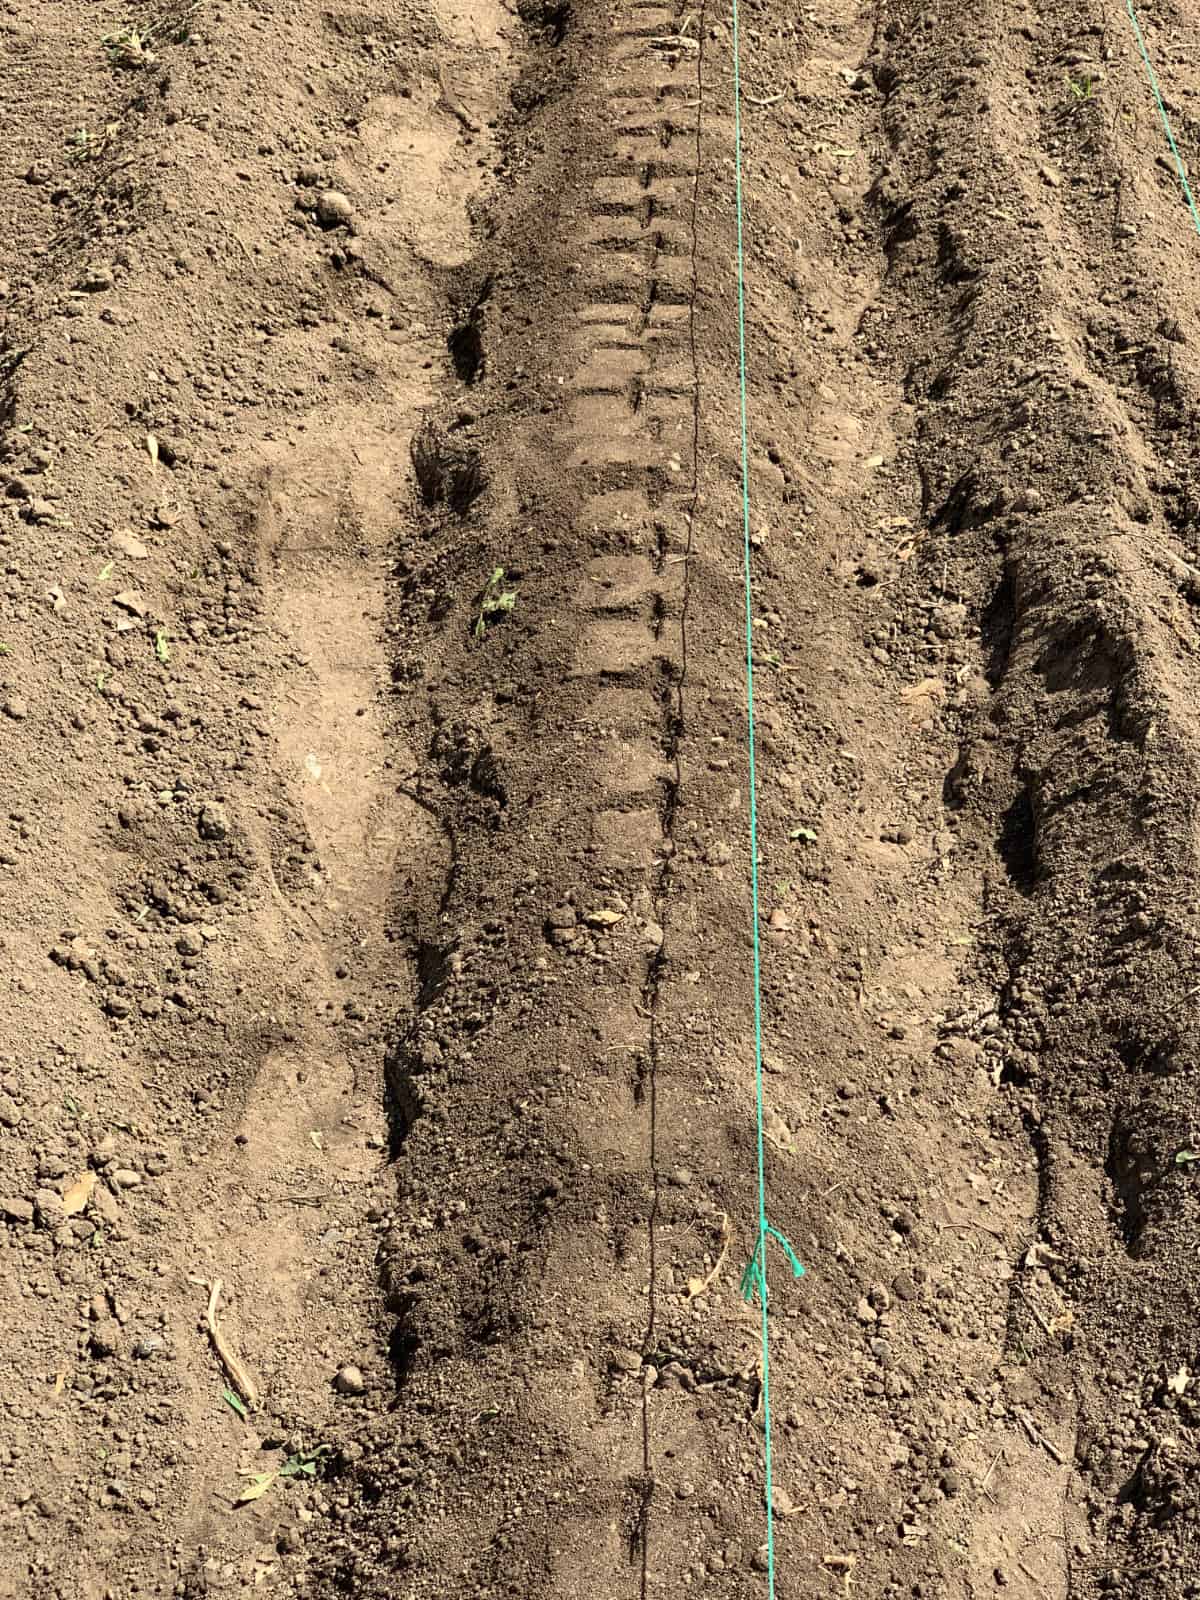
Parsnip seeds take up to 25 - 30 days to germinate depending on the warmth in the soil. To help speed up germination use row covers to keep the soil warmer and help the soil moist at all times.
Taking Care of Parsnips
It is important to keep the row markers in place until the parsnips are at least an inch tall. Parsnip seedlings look like tiny parsley leaves. If you can safely identify the weeds, gently remove them. Waiting until the parsnips are a bit bigger assures you are not pulling out parsnip seedlings.
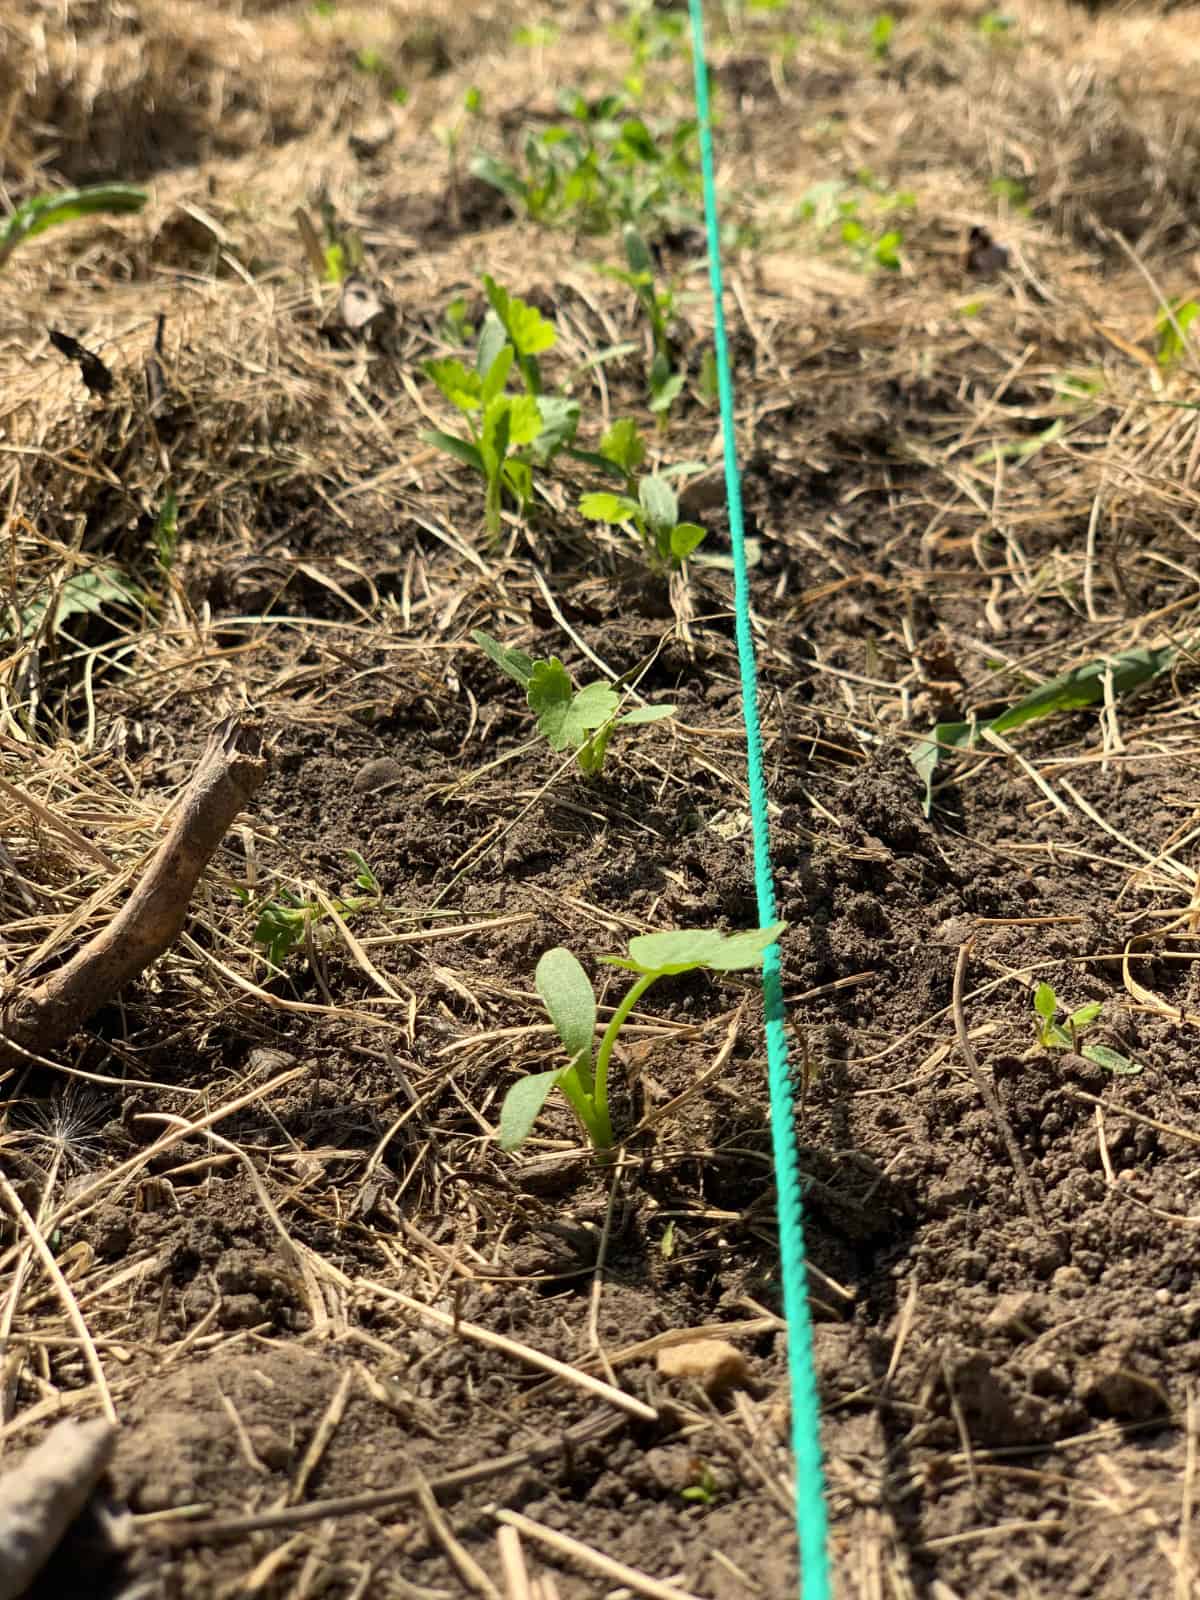
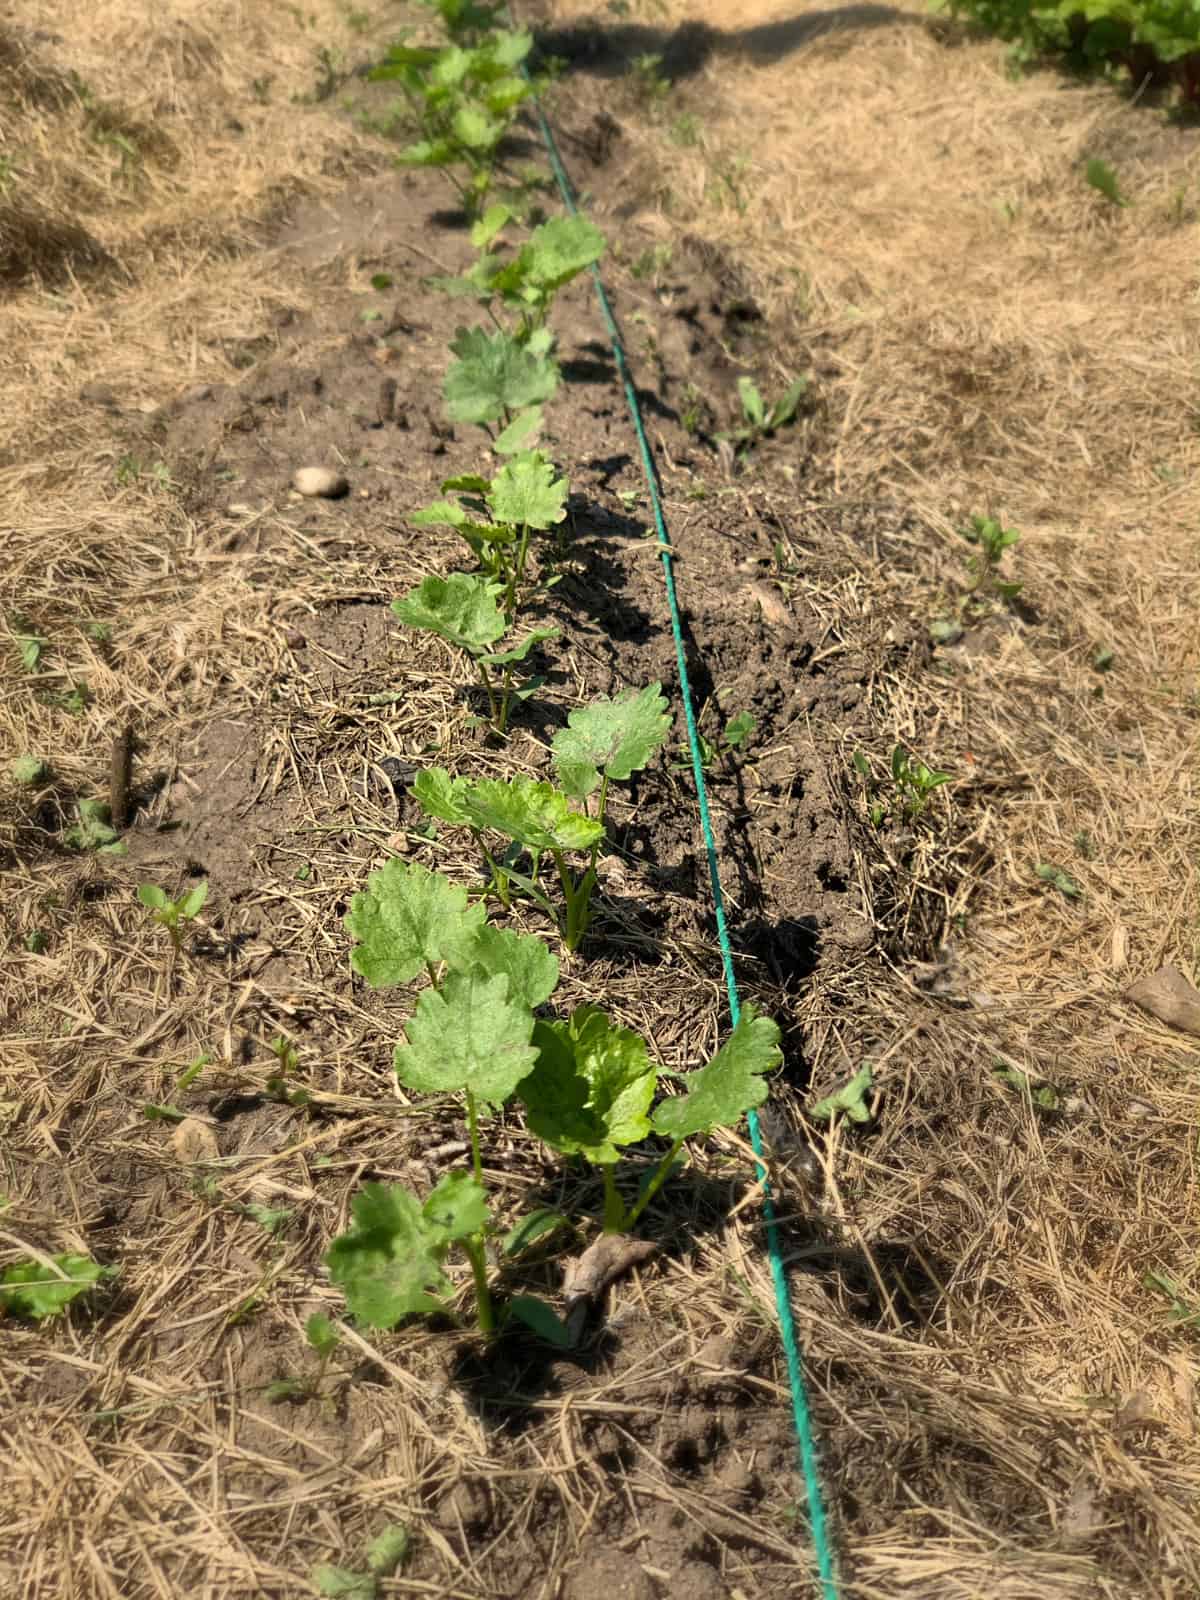
If the seedlings are crowding each other, thin them to a spacing of an inch apart. Once the seedlings start growing well remove the row markers and twine. Weed the rows often, they are competing for water and nutrients and can quickly overtake a garden. Because we harvest parsnips at the end of the season, be sure to give the plants lots of growing room.
If you practice mulching in your garden it can be applied once the parsnips are growing well. This helps keep the moisture in the ground and prevents the parsnips from drying out.
It also is a great barrier to weeds and makes any weeding quick and easy.
Harvesting Parsnips
Parsnips accumulate sugars with the first fall frost, similar to carrots. It is a good idea to wait until at least one night of frost before you begin harvesting your parsnips. Do plan on harvesting everything before the ground fully freezes.
Parsnip roots grow much deeper than carrots. You will need a shovel or garden fork to loosen the soil around the plants. Hand pulling will result in broken parsnips or snapped off greens.
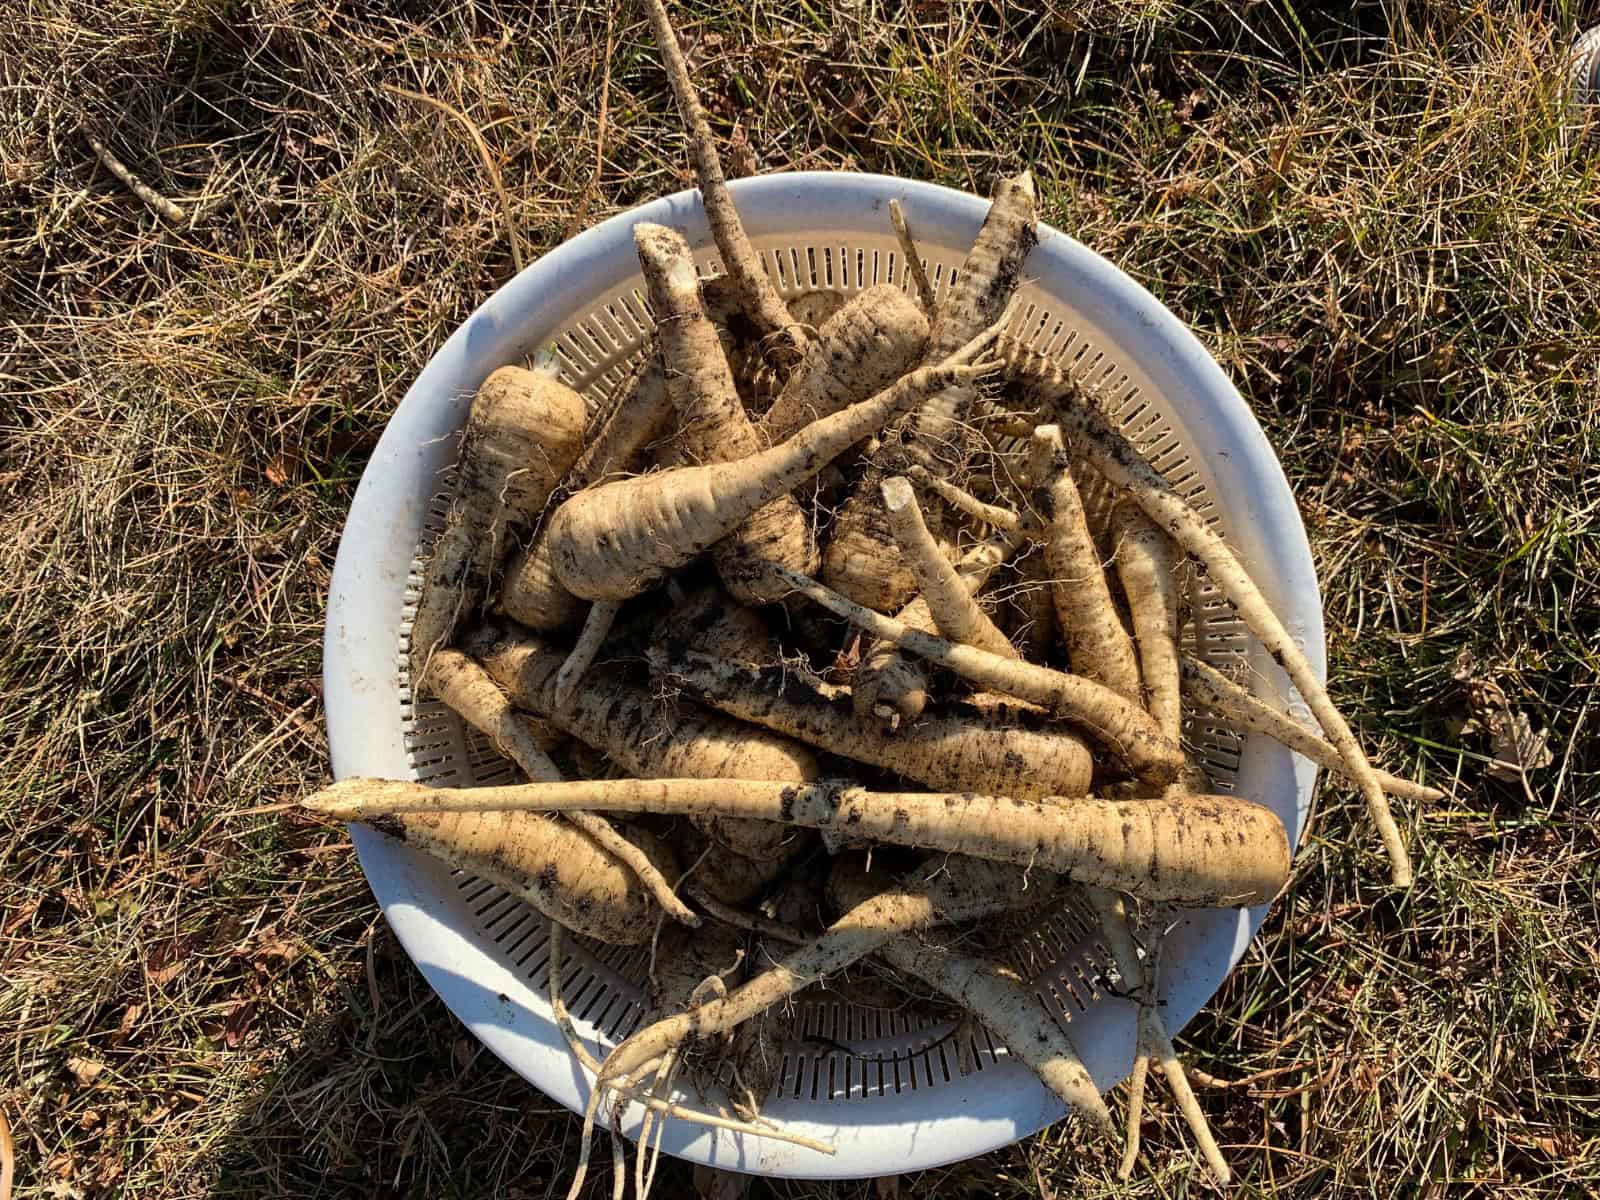
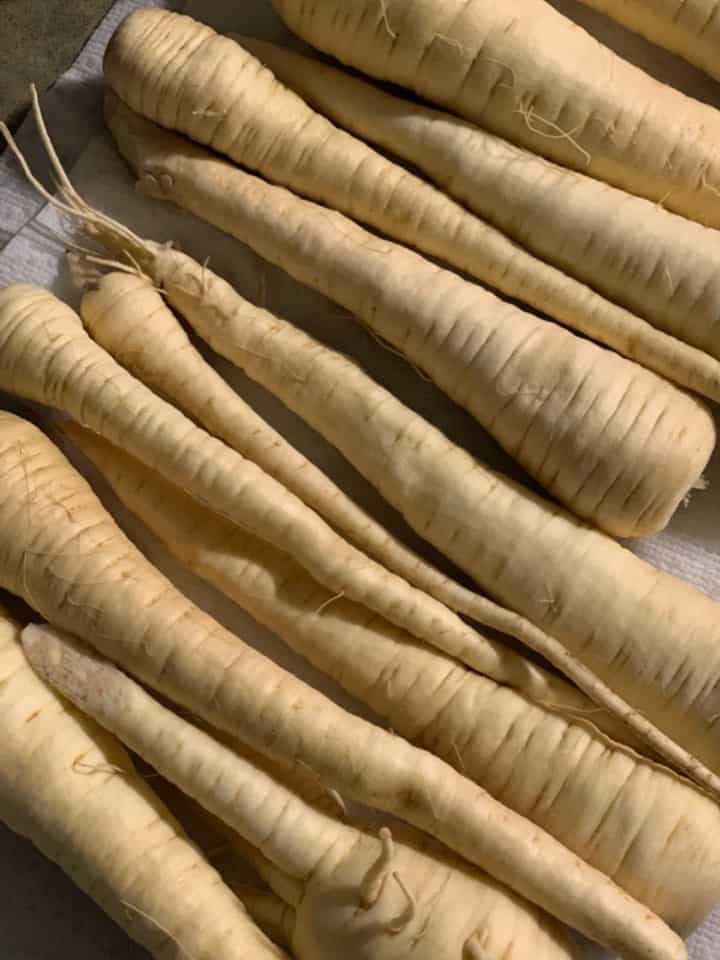
Trim the greens off and remove as much dirt as possible. If the tips are really long, trim them to fit in whatever bag you are using for storage. Give them a light wash to remove any dirt that remains in the creases of the parsnip. Be sure to dry them fully before placing them in storage.
Storing Parsnips
Parsnips require cold storage to maintain freshness. Package the dried roots in plastic food storage bags. Store in the bottom of the fridge.
For long term storage, parsnips just like other root vegetables can be stored in a vegetable clamp. Place the roots into tubs of lightly dampened sand or sawdust making sure the roots don't touch each other. Place the tubs somewhere cool like a basement, root cellar, or garage and check often to ensure no rot sets in.
Freezing Parsnips
Freezing is another long term storage option. They do need to be blanched before freezing. We blanch the vegetables to maintain colour, nutrients and texture. Scrub the parsnips well or remove the skins using a vegetable peeler. Slice into rounds about a half inch thick.
Bring a large pot of water to a boil, drop in the rounds and blanch for 2 - 3 minutes. Remove from the boiling water and immediately place them in ice cold water. This chills them and stops the cooking process.
Lay the rounds on parchment lined cookie sheets and place in the freezer. After an hour remove the parsnips from the freezer and place into freezer bags.
Recipes Using Parsnips
Did you find this guide useful?? Comment & Rate it below, then tag me on Facebook. For more DIY gardening tips & from scratch recipes follow me on Facebook & Pinterest

Comments
No Comments