A salad garden is easy to plan and very rewarding to grow. It is the first section of the garden that is ready to harvest and will feed you the entire growing season. Now that is a garden worth growing!
The great thing about a salad garden is you are not limited by where you can grow, all of our options can be grown in-ground as well as in containers. Wonderful for those who live in Condos and apartments and those who do not have dedicated garden plots.
This post contains affiliate links for which we may be compensated if a purchase is made through the links provided at no extra cost to you. For more information, please read our affiliate disclosure.
Varieties of Salad Greens
There are many choices for leafy greens for your salad garden:
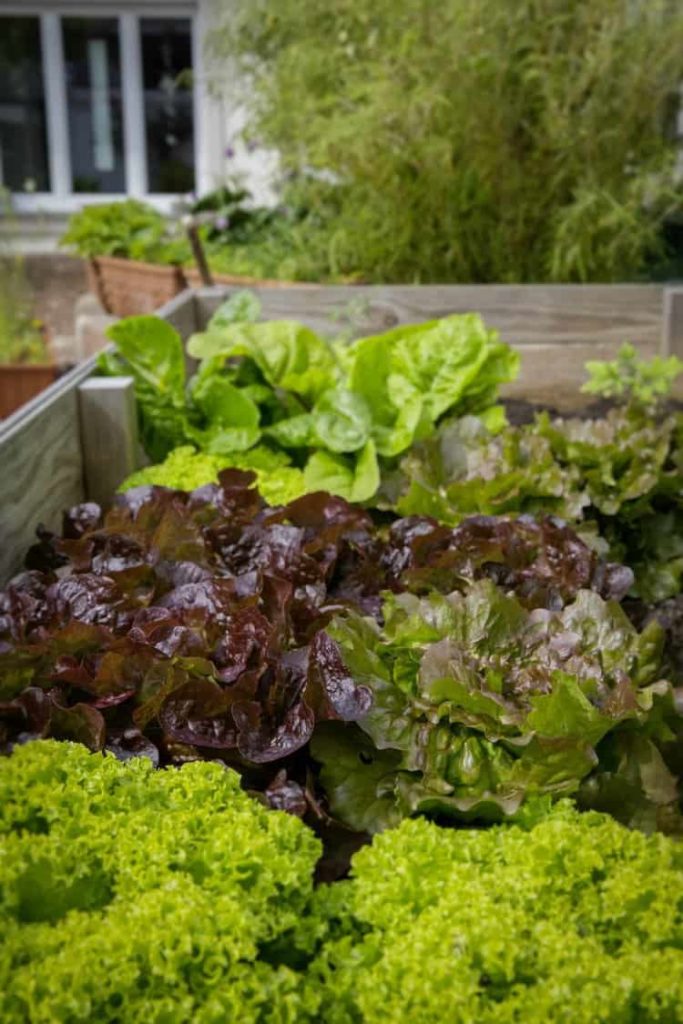
leaf lettuce:
- Green Leaf & Red Leaf (also known as loose leaf) grows as loose bunches rather than heads. Can be harvested by the leaf for a longer harvest. Seeds take from 2-10 days to germinate.
- Cos lettuce - Romaine Lettuce grows in heads. The baby leaves of romaine can be harvested. Plant every 14 days for succession planting. Seeds take from 7-10 days to germinate.
- Arugula - also known as Rocket, originates from the Mediterranean. It has a beautiful peppery flavour and belongs to the mustard family. Arugula has beautiful delicate leaves and grows best in cooler weather. Plant every 14 days for succession planting. Seeds take from 5-7 days to germinate.
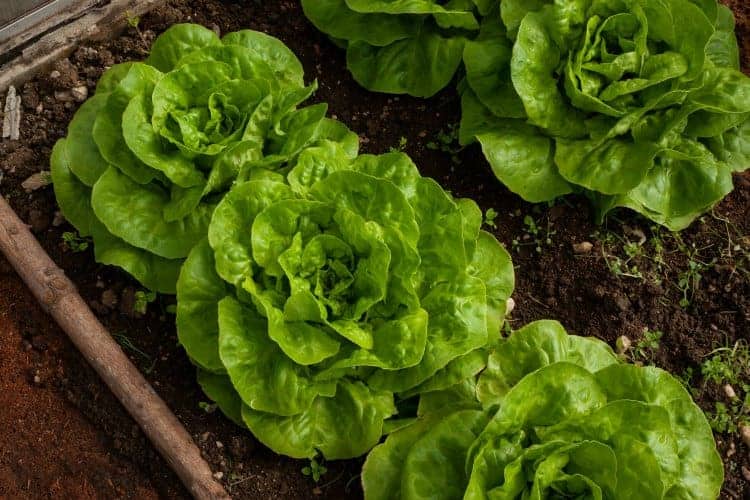
- Bibb lettuce - also known as Butterhead or Boston Lettuce, often seen in grocery stores sold in containers with the root system still attached. Plant every 14 days for succession planting. Seeds take from 7-10 days to germinate.
- Radicchio - Radicchio grows into small heads that resemble cabbage. It is known to be bitter but is a wonderful addition to mixed lettuce salads. The older the plant the more bitter it will be. You can harvest by the leaf to extend the season. Plant every 14 days for succession planting. Seeds take from 7-10 days to germinate
Spinach - there are a few options when selecting spinach determined by their leaf type. Plant every 14 days for succession planting. Seeds take from 5-9 days to germinate.
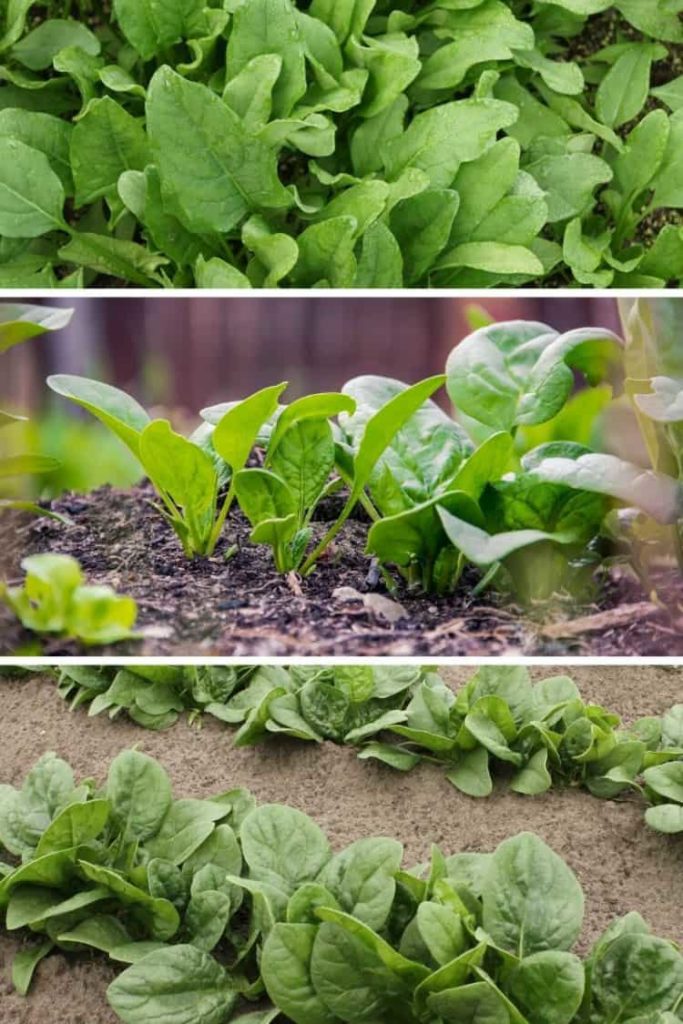
- Savoy Spinach which is a cool weather variety, it is low growing and has a creased leaf texture. Great for early spring and late fall planting.
- Semi Savoy Spinach has a less creased leaf texture and grows taller. Disease and bolt resistant Semi Savory Spinach is a great option for container gardening as well as in ground succession planting.
- Smooth Spinach is best sown in the early spring and fall. This is the smooth leaf spinach you see in store often fresh in bundles as well as in many boxed and bagged salads. Of all the varieties it is the most susceptible spinach to bolting.
How To Grow Salad Greens
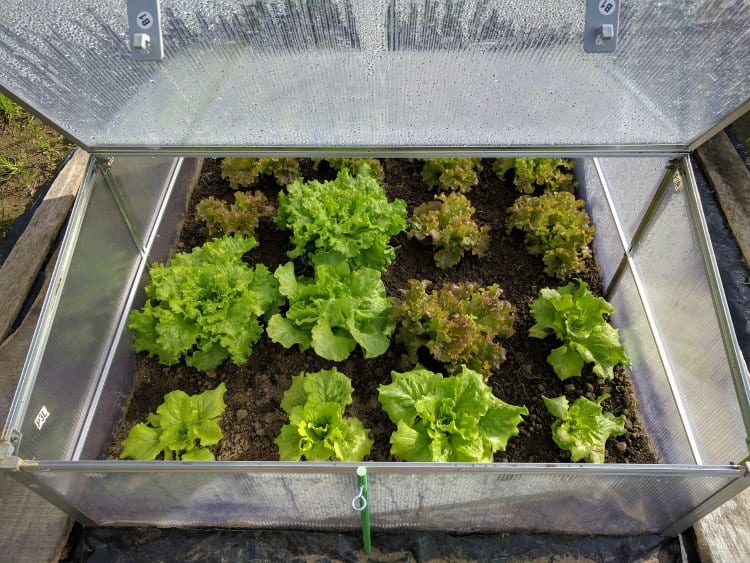
Salad Greens are easy to grow annual vegetables. Considered a cool-weather crop you can start the seeds first thing in early spring and it can handle a light frost. If you are lucky enough to have a cold frame you can get an extra early start on your growing season. Seedlings of many varieties are also available at your local greenhouse or garden centre. Salad greens can be grown in zones 1-9.
Where Should I Grow?
You want to be aware of where you are placing your salad garden. Salad greens prefer shaded growing spots during the hottest months of the season. If your in-ground garden is facing south and receives full sun all day you will want to plant your rows of lettuce behind something taller to achieve that shade.
Alternately you can plant early in spring until the hottest part of the summer, then replant again closer to the cooler days of fall, depending on where you live.
Another option you have is to grow in containers, giving you complete control over placement in the yard.
Succession Planting
When we grow any type of leafy greens it is important to do succession planting. That means we plant every 2 weeks so that we can have a perpetual harvest through the entire season. We have the option to harvest baby greens while we allow a few of the plants to grow to full size.
While in theory, it is nice to have full rows of romaine lettuce there is no good way to maintain long term storage of delicate greens. If left in the garden past their prime they will bolt and go to seed and refrigerated storage is only a short term solution. With succession planting, the greens are always young and fresh.
Where To Grow?
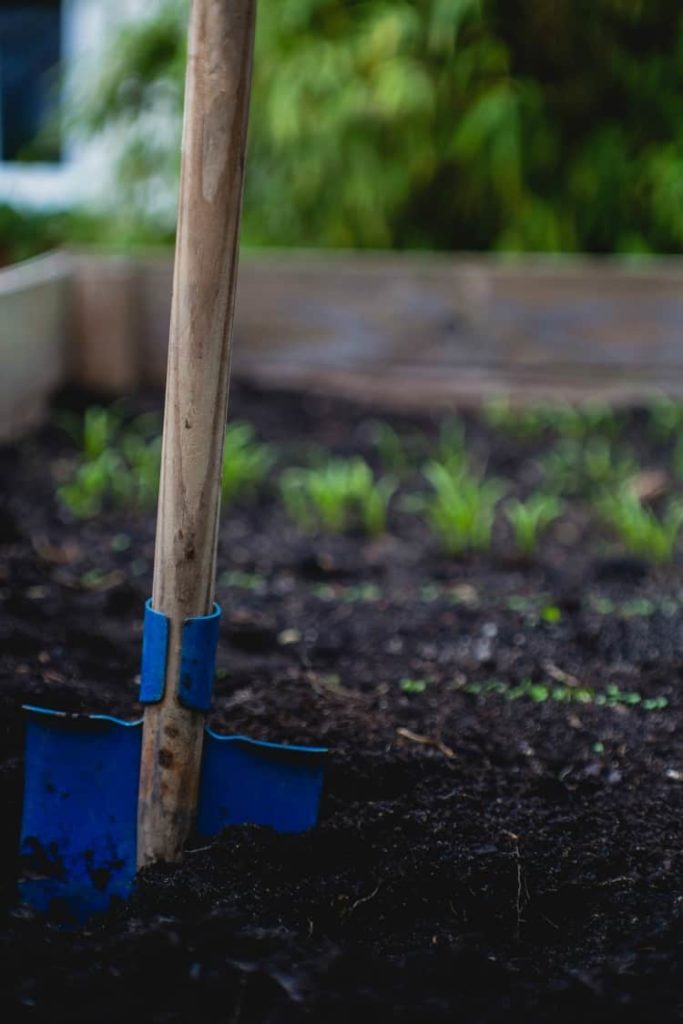
Plant seeds in rich soil with good drainage to a depth of ¼ - ½ inch deep. Space seeds approximately a ¼ inch apart. You can thin the rows once seedlings appear. Depending on location give yourself enough planting space to plant seeds every two - three weeks.
- In ground using rows make it easy to succession plant and if room permits each variety of green should have its on specific row. Plants rows 12-18 inches apart.
- Garden boxes are also another great gardening option. You can really get creative with your plantings and create functional design within them. That allows them to be part of the visual landscape that makes up your garden or patio. Grow along side accompanying salad vegetables such as tomatoes or cucumbers for a beautiful display.
- Containers are great to grow salad greens in and make for easy maintenance. Use a lightweight potting soil or Pro Mix with amendments added for good drainage. Perlite or vermiculite are good options to add to your soil and aids in keeping the containers lighter if you plan on moving them during the hottest part of the season. Be sure all growing containers have drainage holes.
- Flower beds are another fantastic place to grow salad greens if you are short on space or just want to create a beautiful spot showcasing food and flowers.
Watering Needs of Salad Greens
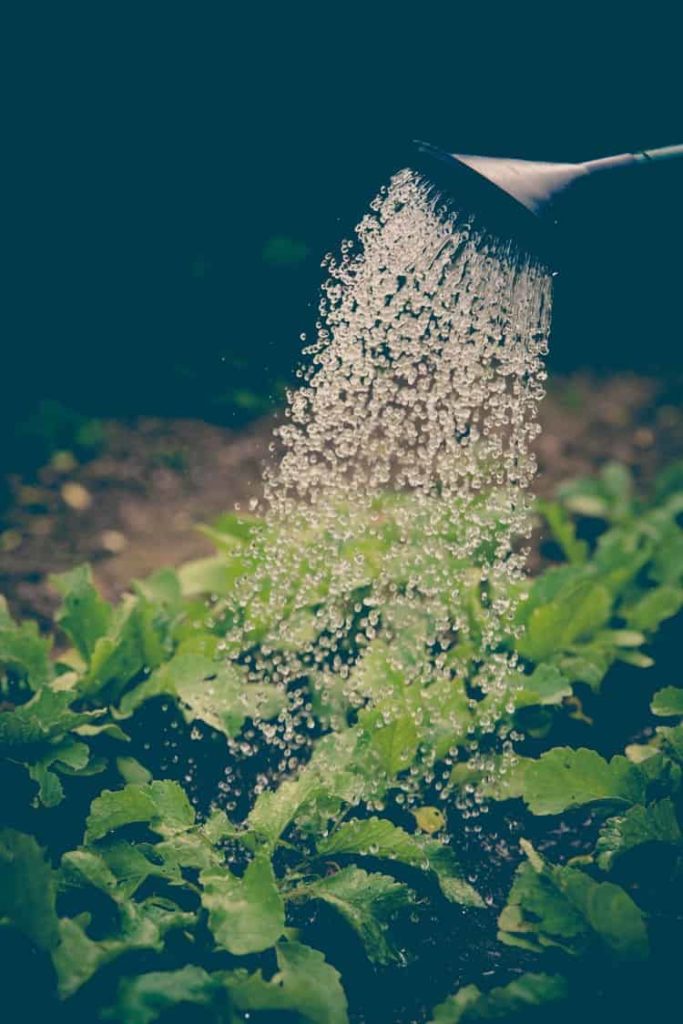
Salad greens require consistent moisture. Water lightly as needed, preferably in the cooler part of the day being careful to not over water.
Harvesting Salad Greens
One interesting thing to note is some types of lettuce will continue to grow new leaves if you leave the roots in ground and only harvest the larger leaves. Using a knife or scissors gently remove the more mature outer leaves when you harvest. You will be able to harvest leaves for many weeks.
For full heads use a sharp knife and cut at root level or harvest the entire head by lightly loosening the soil around the roots and lifting out the entire head. Trim the roots off to go into the compost pile.
Storage of Salad Greens
Lightly wash leaf and romaine lettuces and dry on paper towels or use a salad spinner to remove excess water. You can bag full heads or leaves in any type of plastic food storage bags and store in the fridge.
For head lettuce like Iceberg or any Butter varieties remove any dirty leaves and store in plastic food storage bags. Wash lettuce before eating.
Spinach leaves should be washed then dry on paper towel or use a salad spinner to remove excess moisture. Store in plastic food storage bags.
You can add an additional layer of protection to keep your salad greens fresh by wrapping them in the paper towel that they dry on. After the greens have dried just roll the towel up and place in plastic food storage bags.
If you find your salad greens could use a bit of a lift after being stored in the fridge for a few days fill your sink with warm water and submerge the greens under water for 5 minutes. After 5 minutes drain off the lukewarm water and refill the sink with icy cold water. Allow the greens to sit in the cold water for 5 minutes. Sitting the greens in the warm water first opens the pores so then the icy cold water can enter those pores re-crisp the greens.
Did you find this guide useful?? Comment & Rate it below, then tag me on Facebook. For more DIY gardening tips & from scratch recipes follow me on Facebook & Pinterest


Eden
This is really informative! I didn't know there are that many varieties of salad greens. I want to try growing some too. With your help, it seems possible to do, so might as well try it. Thanks!
Chef Markus Mueller
Glad you learned something new! I hope you have great success with your salad garden!
Bev
Thanks Markus for the great tip for refreshing in lukewarm water then Cold water - this should be a game changer.
Chef Markus Mueller
You're welcome! You can actually refresh many vegetables like this. Carrots or celery sticks that have dried out in the fridge and become floppy can be refreshed by setting in cold water as well. It will crips them up, but they should be eaten soon after as they will only dry out if left in the fridge again.
Kelly Rectors
great info! I live in Southern CA/coastal- is growing lettuce something I can do year-round?
Chef Markus Mueller
Hey Kelly, In theory, yes you could grow lettuce year-round in Southern California. That said it may get too hot in the middle of the summer. I would suggest looking for varieties that are heat tolerant to take advantage of the heat you get down there.
Mindy Peters
Thank you for this detailed guide! I've been thinking of growing my own lettuce so I know it's clean, but never took the leap. With your instructions it seems like something I can tackle. And thanks for the tip on succession planting. My family always gardened when I was growing up, but I don't remember ever trying that.
Chef Markus Mueller
You're welcome Mindy! I hope you enjoy growing your own food and enjoy the experience! It's always a learning process!