Bell peppers are easy to grow and easily adds to the variety of produce you can grow at home. Being one of the more expensive items in the produce department you benefit from huge savings by growing your own bell peppers.
This post contains affiliate links for which we may be compensated if a purchase is made through the links provided at no extra cost to you. For more information, please read our affiliate disclosure.
Starting Seeds or Buying Seedlings?
To have a successful harvest of bell peppers it is important to start your pepper seeds 6 - 8 weeks before the final frost date in your area. They can have a fairly long growing season, so you must start them early. Your goal is to have the peppers harvested before your first frost in the fall. Because they are a hot weather-loving plant they will not survive a frost.
You can of course purchase bell pepper seedlings at a local nursery, but this option limits you to the varieties available, and of course, it costs more. By starting your plants from seed though, you will save money and allow you to grow a larger assortment of peppers!
Starting Bell Pepper Seeds Indoors DIY
To start seeds indoors you will need:
- a small tray - look for one that comes with planting cells and a clear lid if possible, (bell pepper seeds like heat and moisture to germinate)
- Disposable plastic cups are also a good option (Solo cups work great and you can reuse them over and over to start all your seedlings, be sure to give each cup drainage holes)
- Potting soil - (look for a lightweight one with amendments already added like pearlite and peat moss)
- bell pepper seeds
- heating mat (optional)
Fill the cells, cups or whichever seed starting container you choose with potting soil. Water well allowing the excess water to drain off.
Pro Tip: Potting soil is quite light and when watered from the top it can spill over the edges of the container making a mess. Consider bottom watering to keep everything nice and clean. Simply place the containers in a tray or sink and fill with water allowing it to be soaked up from the bottom.
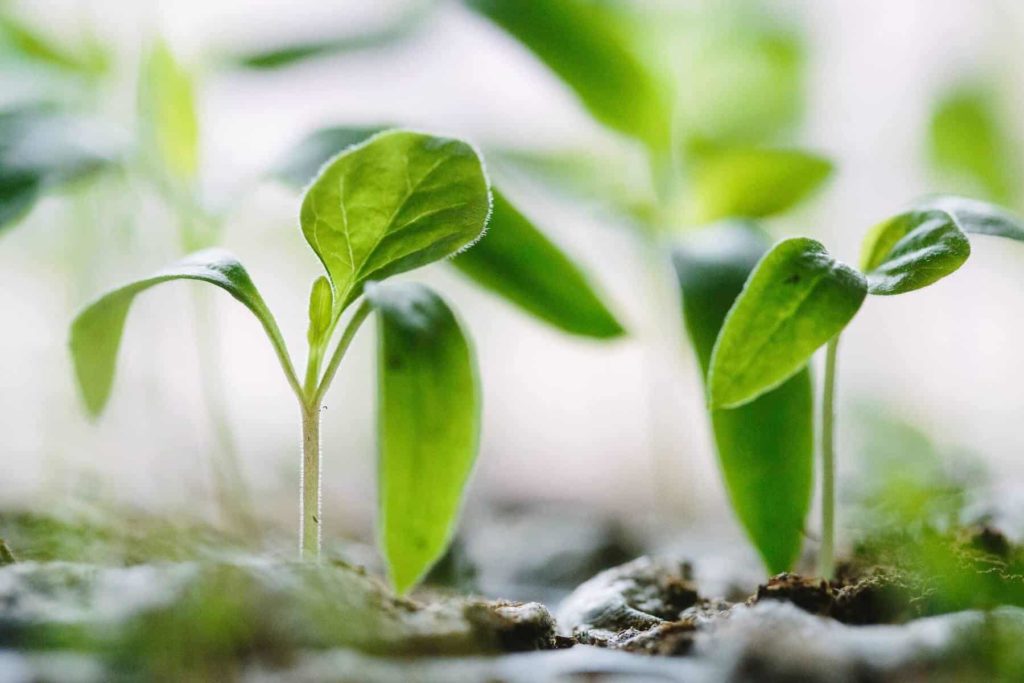
Place the planted trays someplace warm and sunny or on a heating mat if you have one available. Keep the soil moist but not saturated. The seeds should start germinating within 10 days but could take up to 3 weeks.
Once the seedlings start to get a little leggy it will be time to transplant to a larger container, and possibly provide supplemental light. This is done with a grow light or by moving the seedlings to a very sunny window.
Hardening Off The Plants
'Hardening Off' is the process of getting plants acclimated to the outdoor environment. The elements like wind, rain, and sun can cause transplant shock, and even kill tender seedlings if the process is rushed. Do not move bell peppers into the garden until all chances of frost are over.
To harden off your peppers you will move the plants outdoors, first for short periods of time, and then longer periods until the seedlings are fully acclimated to the outdoor weather.
Start this process once the days are a bit warmer (50F / 10C) and ideally not during very windy or rainy weather. Place the plants (still in their little tray or pots) where it is warm, they will receive some dappled sun and are protected from any harsh winds. Leave the seedlings out for an hour the first day and then move them back into a warm sunny location inside.
Over the next several days increase the amount of time outside by an hour each day. Skip a day if there is bad weather forecasted early in the process. After a week or two (depending on if the weather co-operated with you!) allow the plants to stay outdoors for a lonsger period of time and even overnight if the temperatures stay above 50F/10C.
Finally, when you are confident they have acclimated to the outdoors fully, and seem to be thriving, you can proceed with planting the seedlings out into the garden.
Where To Plant Bell Peppers
Peppers love hot temperatures, so planting them in a full sun location is best and recommended.
Work the soil well adding amendments like compost, peat most and manure before planting the seedlings in your garden. Space the plants 18 - 20 inches apart. Water the plants well and mulch if that is a practice you follow.
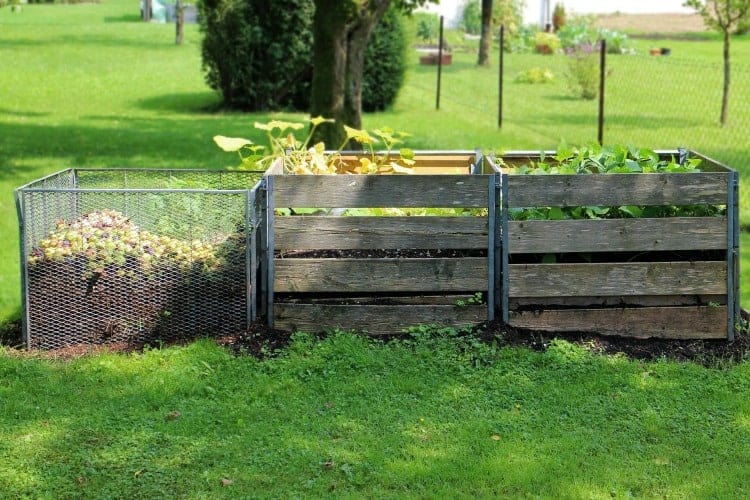
Mulching helps keep the ground wet and prevents the roots from drying out. We suggest using straw or other material that will easily break down during the year and help feed the soil.
Can You Grow Bell Peppers In Containers?
Bell Peppers will also grow well in containers. Choose a container that is at least 3 litres and has proper drainage holes. One thing to note is you will have to water daily when the weather turns hot. Containers will dry out quickly.
Growing bell peppers in containers is a great option if you have limited garden space, but have ample room on a sunny patio or deck!
Caring For Bell Pepper Plants
Bell Pepper plants branch out from a single stem and can get quite top-heavy with fruit. It is not uncommon for the plants to get tippy. Supporting the plants with bamboo stakes is a good idea if you find your plants starting to get top-heavy.
Do not let the plants get too dry. It is important to have consistent watering, especially when the bell peppers are growing in containers.
Do I Need to Fertilize My Bell Pepper Plants?
You can choose to use a water-soluble fertilizer once every 2 - 3 weeks. Choose one that is a balanced 20 - 20 - 20 for the first month than switch to one where the middle number is the highest. This will encourage flowering. Once the fruit is set and growing switch to plain water until harvest.

Harvesting Bell Peppers
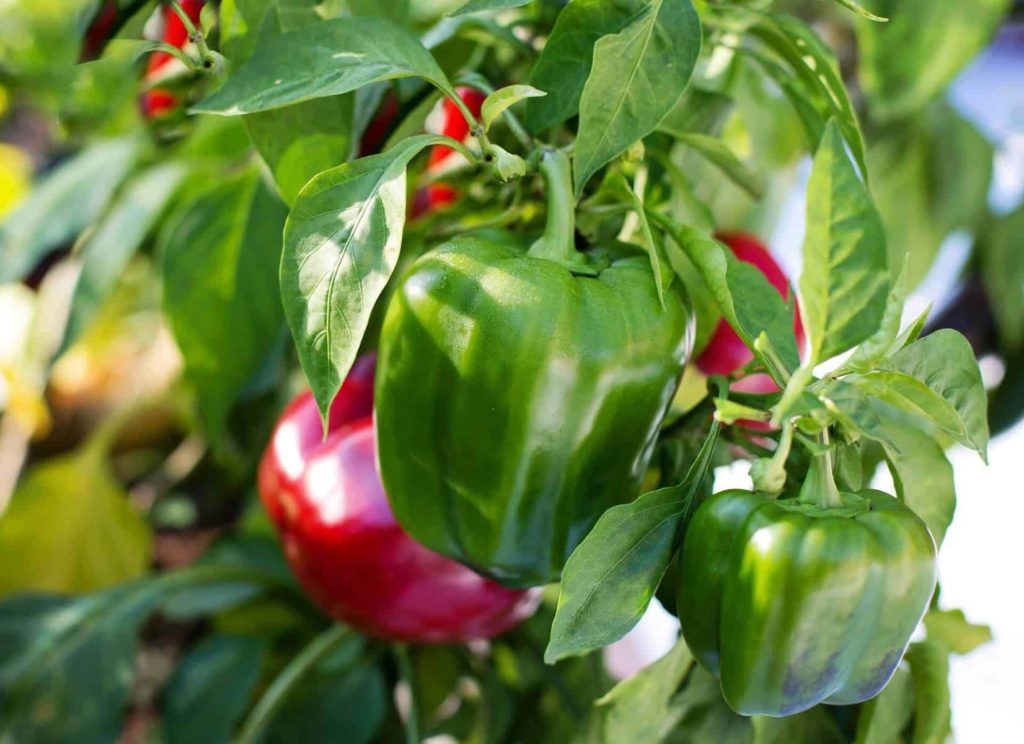
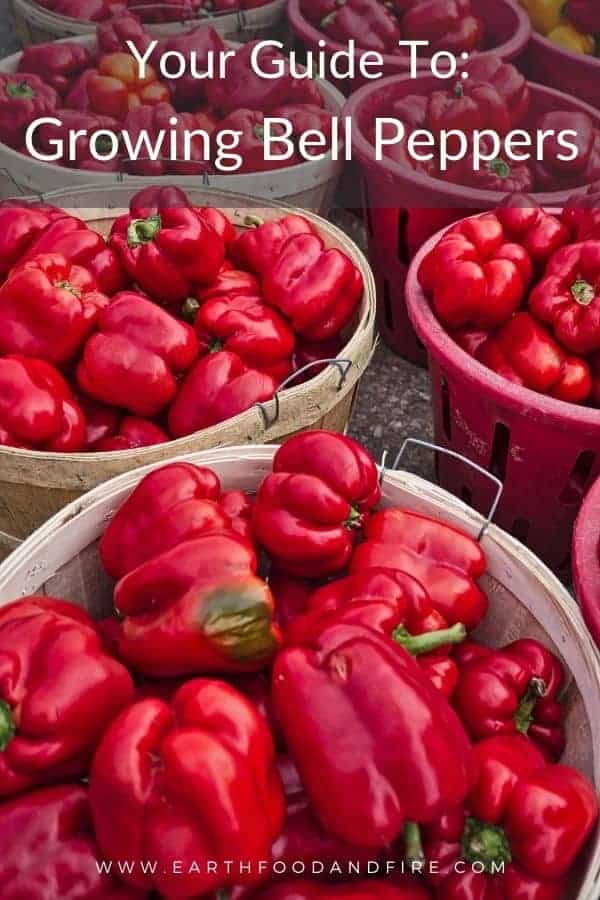
You can begin harvesting bell peppers when they reach the desired size you are looking for. The longer you leave the pepper on the plant, the sweeter the pepper will be. Peppers are often green but will change colour as they ripen. An example is the red and green peppers you see in the store. They are the exact same pepper, the red ones were ripened longer therefore the change in colour.
Using a sharp knife or scissors to cut the stem off the bell pepper to harvest.
Store in the fridge for up to 2 weeks.
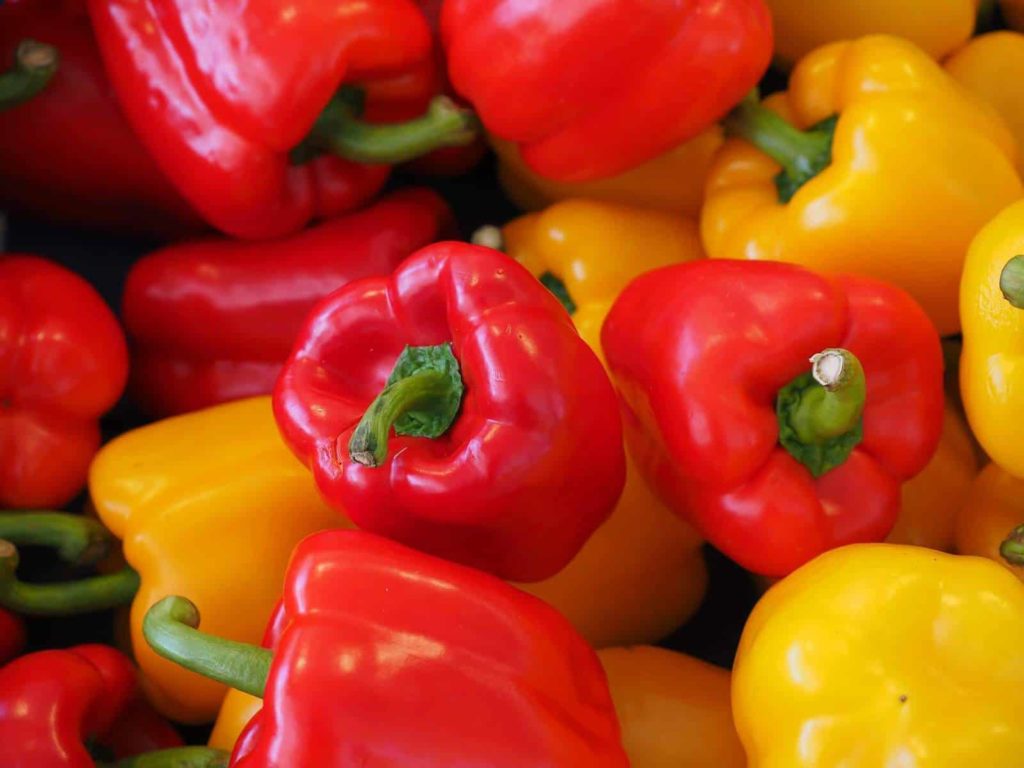
One Final Note: you may have seen the image that made its way around the internet a few years back talking about male and female peppers. It referenced the bumps on the bottom of the pepper & that the sex of the fruit was differentiated by how many bumps the pepper had. This is a myth! Peppers are neither male nor female.
Grow More Backyard Produce!
Looking for more backyard gardening help, or want to plant other vegetables as well? Check out some of our other guides!
- How To Grow Cherry Tomatoes
- How to Grow Onions
- How to Grow Brussels Sprouts
- How to Grow Strawberries
- How to Grow Garlic
Did you find this guide useful?? Comment & Rate it below, then tag me on Facebook. For more DIY gardening tips & from scratch recipes follow me on Facebook & Pinterest

Comments
No Comments