Radishes are an edible root from the Brassicaceae family. Know for their sharp flavour, they are enjoyed best raw. They are a Cool Weather Crop vegetable and one of the first things we plant in the Spring.
This post contains affiliate links for which we may be compensated if a purchase is made through the links provided at no extra cost to you. For more information, please read our affiliate disclosure.
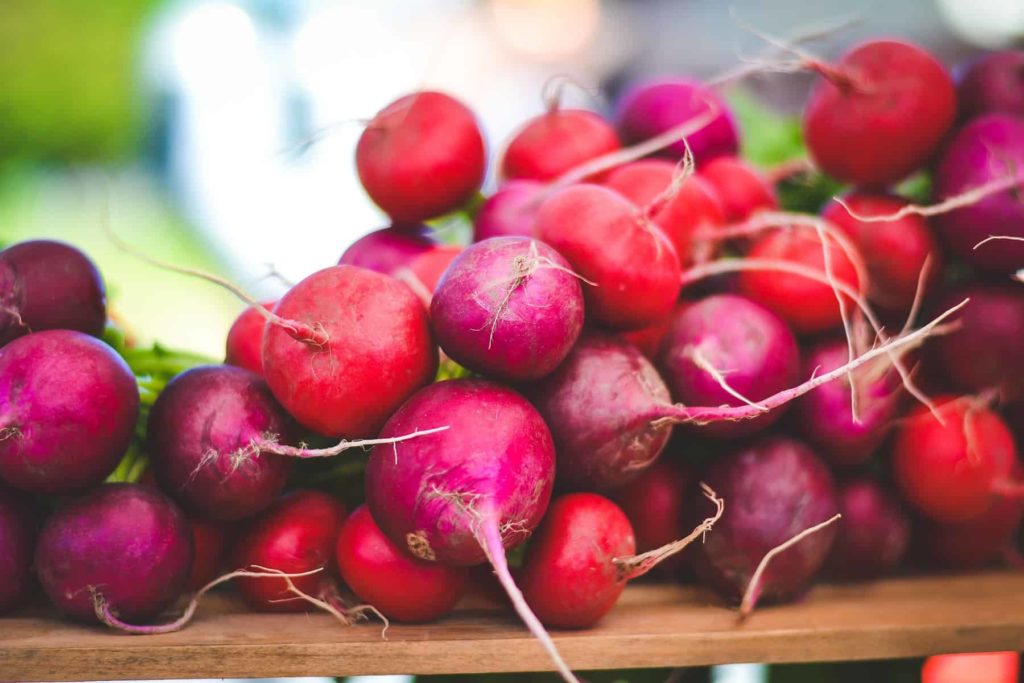
Varieties Of Radishes
There are many varieties of radishes that range in skin colour, shape and size. They can have skin colour from white, reds and pinks, to green and even black. Most radishes have white flesh though there are a few like the Watermelon radish that are stunning. As the name implies it resembles a watermelon when sliced.
The most common radishes are globes while other can have oblong or long slender roots. Daikon radishes are long, thick white skinned and fleshed, and can be quite large. Horseradish is also a type of radish, wtih a long thick-skinned root that is very pungent and is a perennial. The skin is tough and must be removed before using. Great for long-term storage, horseradish is a great addition to the garden, though be careful where you plant it, it can be invasive!
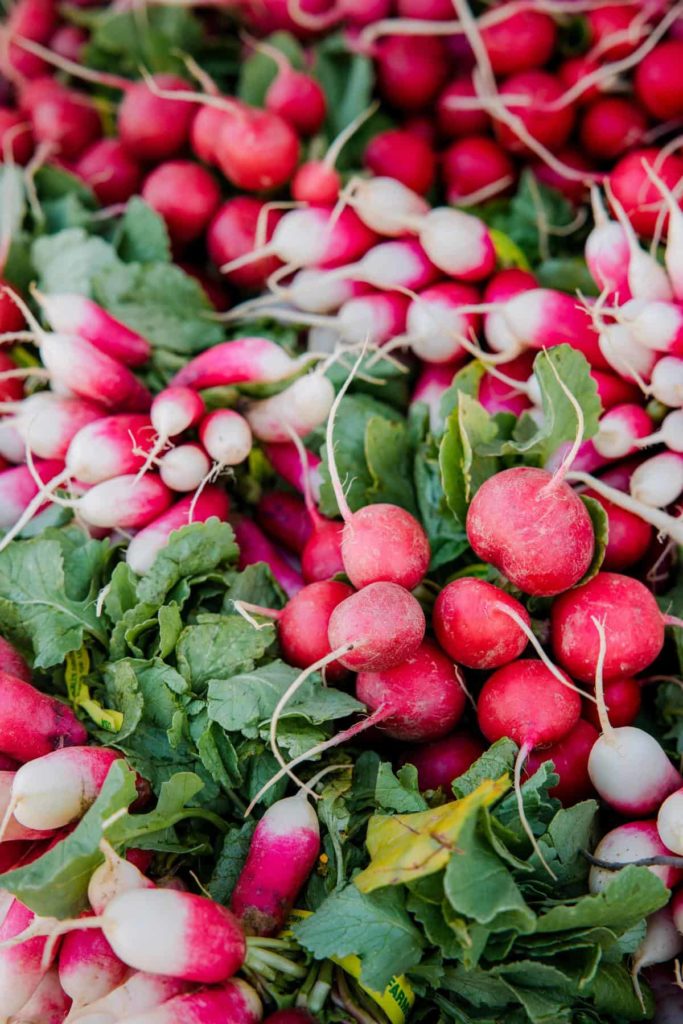
Popular Varieties Of Radishes
- French Breakfast - red tops with white tips grows to 2 inches in length
- Rivoli - bright red globe shaped best when 11/2 inches in width
- Cherriette - red round shape great for summer growing, perfect for window box and container growing
- White Icicle - pure white radishes harvest before they are 6 inches in length
- Daikon - when thinning space up to 9 inches apart
- Black Spanish - round globes with black skins and white flesh
- Easter Egg - they come in a variety of colours from pink, red white and purple
- Watermelon - beige and green on the outside with bright pink flesh
- Horseradish - long light tan roots, lightly brush off any dirt, great for long term storage
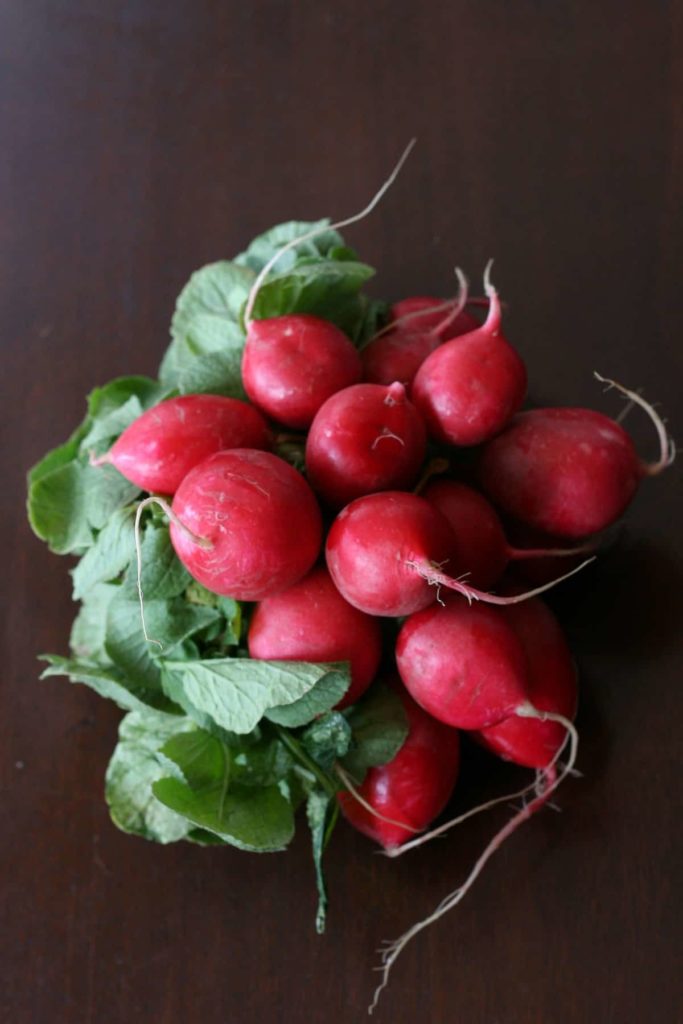
How Do I Plant Radishes?
Radishes are annual, fast growing vegetables, some varieties being ready for harvest in as little as 3-4 weeks after sprouting.
Radishes can be planted first thing in the season, seed them as soon as the ground can be worked. Create a patch or place rows further back in the garden. They will get full sun early in the the season. During the hottest part of the summer, they can be shaded by the taller vegetables if you plan to succession plant throughout the entire season. Radish seeds can take up to a week to germinate in cooler weather.
Radishes are also a great option for container gardening or window boxes. You do not have to have a dedicated garden space to enjoy radishes. Directly sowing into the garden, container or final growing location is best as they are not a good option for starting indoors and transplanting.
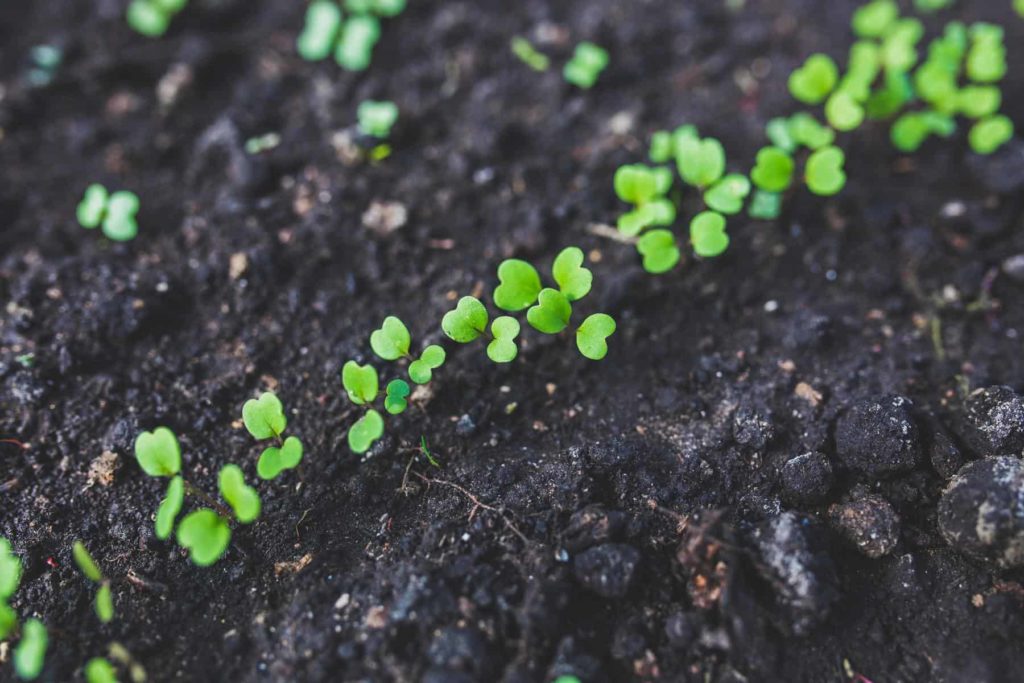
Succession Planting Radishes
A good idea is to plant smaller rows and do succession planting every one to two weeks depending on how big of a harvest you want. For succession planting, radishes should be planted in rows, approximately a half inch deep and two inches apart. Work the soil well before planting.
If you are planting larger radishes such as Daikon radishes, plant the seeds to a depth of 1 inch to an inch and a half and three inches apart. Daikon radishes take anywhere from 60 - 75 days to finish their growing season. As with any addition to the garden they prefer soil that has been worked and has had some amendments added, such as compost or peat moss.

How Do I Care For Radishes?
Radishes do best when the soil is moist. To help prevent the soil in the radish rows from drying out, use mulch in those rows. Mulching is the practice of lightly covering the root area of garden plants with grass, leaves or even newspaper. Mulch shades the root area to slow down the process of evaporation as well as retaining moisture in warm weather.
Dry soil will make your radishes become woody so be sure to water adequately.
They do not require any fertilizer, though adding compost to their growing spot is a good idea before planting, or a very lightly top dress after planting. If radishes are over-fertilized while growing, they will put all their energy into growing leaves and very little into the root.
After the radishes have sprouted, thin your radishes to a space of 2 inches apart once they are around a week old. It may seem like a shame to pull baby seedlings but the remaining radishes will do much better with the extra space to grow.
When Should I Harvest Radishes?
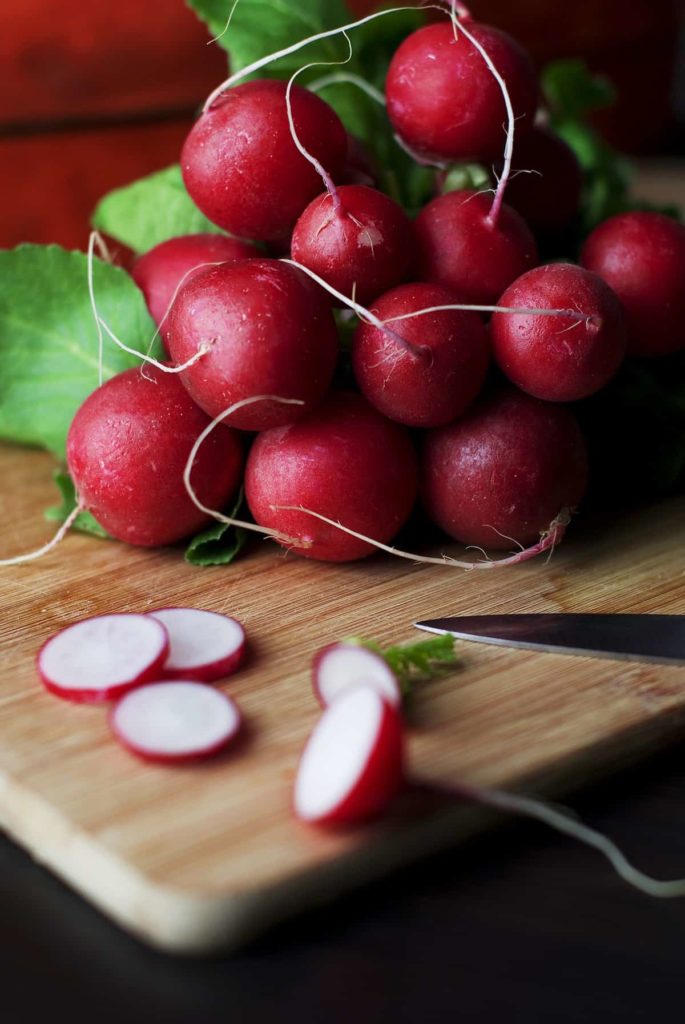
Spring radishes grow fast and most should be picked as soon as they are an inch wide, if left in the ground too long they will become woody. As mentioned earlier, this makes radishes a great candidate for succession planting. It assures you will have a continual supply of fresh radishes the entire season.
To enjoy radishes at their prime be sure to harvest as soon as they are to size. Harvest then wash and dry and store in the fridge. It is best to trim the radish greens off before storage as the leaves tend to rot rather quickly.
What about Radish Leaves and Seed Pods?
An interesting fact about radishes is their leaves are also edible when young. They can be enjoyed fresh in a salad or lightly sautéed. Or you can take it one step further and allow some of your radishes to go to seed.
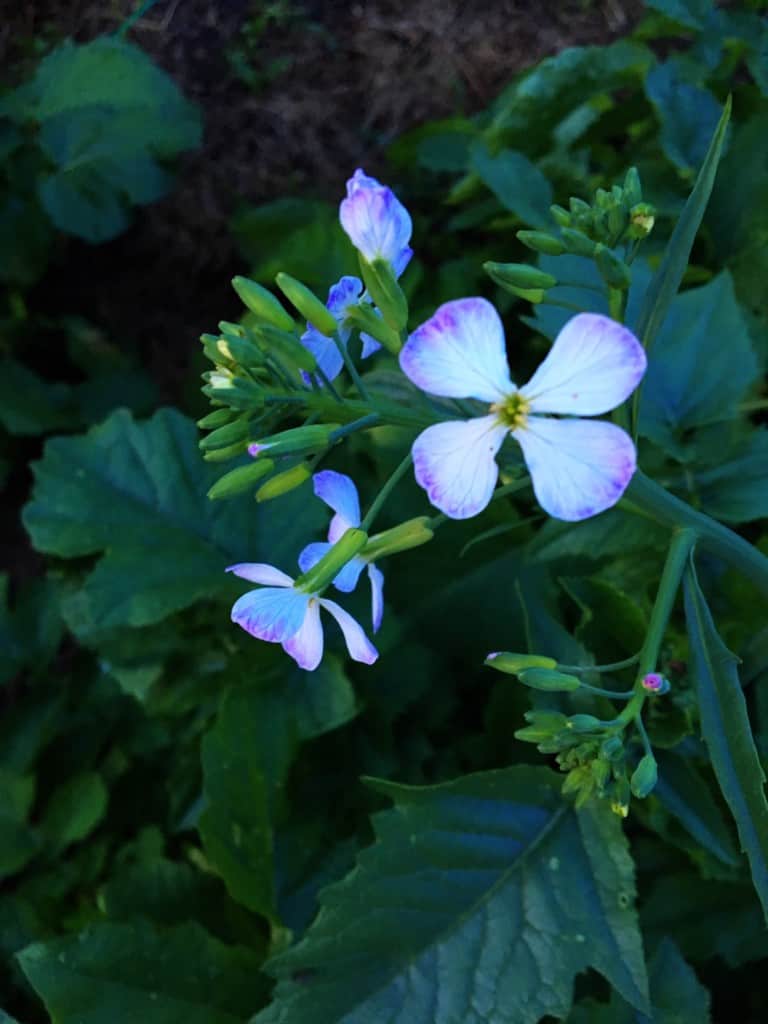
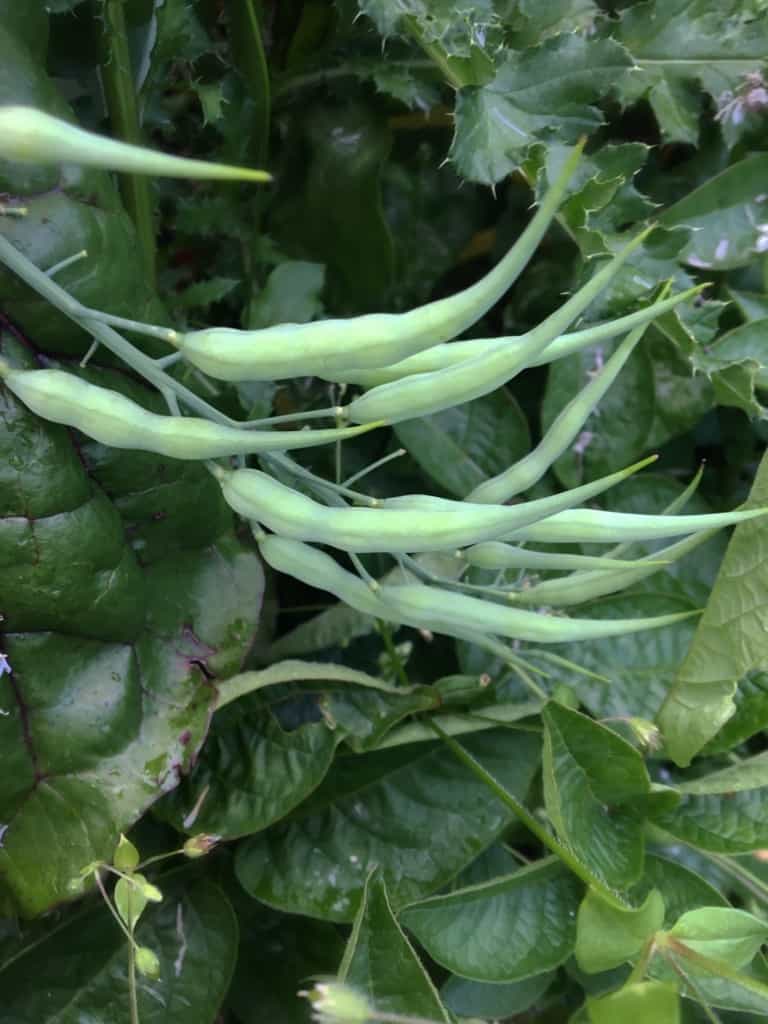
Radishes, if left in the garden past their prime will grow into small bushes, flower and develop seed pods. Harvest the pods when they are green. They can be enjoyed in salads, they have a nice crunch factor and have a delicate radish flavour.
Another option is pickling the seed pods. They have a beautiful spicy flavour that mellows once pickled. Alternately you can leave the seed pods remain on the plants and allow them to dry to use as seeds for next year's season.
If you do plant and grow radishes to pickle or harvest the seed pods, plant the radishes in a small patch and place a large tomato cage around the planting area. Radish plants that are grown for the pods need extra support as the plant can get as tall as 5 feet.
Is Horseradish Different from Regular Radishes?
Horseradish is another type of radish but grows much differently than a traditional radish. It is a perennial plant that is grown from root cuttings or crowns. The aggressive growth of Horseradish makes it desirable to select a dedicated spot in your yard or garden for the patch. They do well in any weather conditions so you have many options for placing them in your yard.
To plant horseradish dig the bed well. It requires a hole deep and wide enough to fit the entire root section. Place plants a foot and a half apart to assure they have enough room to spread out. It is advised that you should place the crowns and roots at a 45 degree angle in the ground. It is a good idea to add a bit of compost to the growing area when you first work the soil.
They do not like to be over watered, use a light hand when watering but be sure to not allow the patch to dry out excessively in the hotter months. They do not require regular fertilizing though a top dressing of compost every spring is adequate.
To harvest horseradish, it is best to wait until late fall. It develops flavour from a hit of cold weather so it is best to harvest once there has been at least one frost. It takes horseradish one year to reach maturity so do not harvest in the first year. You will need a shovel to dig up your horseradish, be sure to dig away from the plant so as to not harm the roots. The roots should be anywhere from 6 to 12 inches long. Wash and dry the roots and store them in the fridge.
Did you find this guide useful?? Comment & Rate it below, then tag me on Facebook. For more DIY gardening tips & from scratch recipes follow me on Facebook & Pinterest

Comments
No Comments