While clay and other earthenware cooking dishes have been used for centuries around the world, clay pots (sometimes also called clay bakers or clay roasters) were first introduced in 1967 at a trade fair in Hannover Germany, as the 'Römertopf" (which loosely translates to Roman Pot).
Essentially a roasting dish that employs steam cooking, these clay baking dishes were billed as the ideal cooking vessel for those searching for a hands-off cooking experience and requiring no additional fat.
With a naturally porous surface, clay pots use a unique method of steaming foods inside the enclosed pot to gently simmer and braise foods of all kinds without the use of added oil or fats, and that's the secret of clay pot cooking.
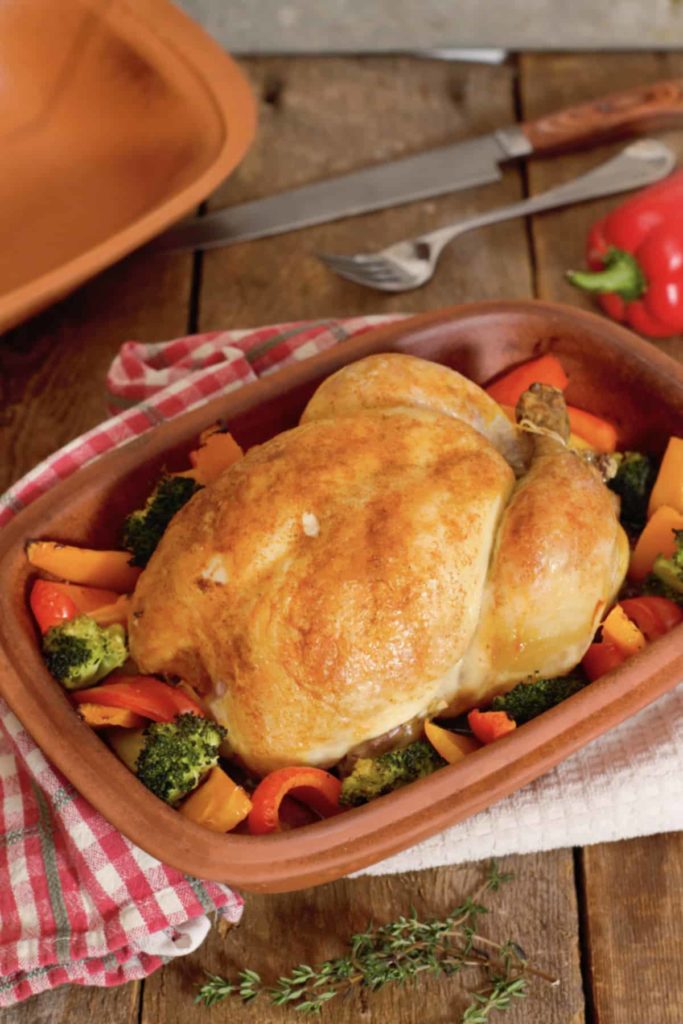
Vegetables, grains, meats, and fish are all excellent options for cooking inside a Römertopf. You can even make soups, bread, and desserts such as puddings, stewed fruit, or baked apples! The German Römertopf website has a fantastic recipe section, and we hope to create our own clay pot recipes as well!
This post contains affiliate links for which we may be compensated if a purchase is made through the links provided at no extra cost to you. For more information, please read our affiliate disclosure.
A Little History
As mentioned above, the original Römertopf brand of clay cookers was originally developed and produced by the Eduard Bay company in Germany in 1967.
They later sold the North American rights of the Römertopf brand to Reco International, while the European rights of the brand were transferred to Römertopf Ceramic GmbH in 1997. Reco International produced and sold clay cookers exclusively throughout Canada and the US until they went bankrupt in 2013.
Following the bankruptcy of Reco International, Reston Lloyd held exclusive rights to the Römertopf brand name in North America, but due to recent international manufacturing challenges have created their own line of clay baking dishes called Eurita Cookware.
While other companies have made similar looking clay bakers over the years, the Römertopf and Eurita brands stand out as offering a superior cooking experience while using only pure, natural clay.
So What Makes These Clay Pots So Special?
The secret to the clay pots' excellent cooking capabilities lies in their construction and design.
Produced from high-quality clay, the naturally porous surface allows water to steam the food as the clay baker heats up in the oven. (This is why Römertopfs and other clay bakers should always be soaked in water before using them.)
This steaming action locks in flavor and nutrition, all without the need for added oil or fat, resulting in a very healthy cooking method. A small gap between the lid and the bottom half helps regulate steam pressure and allows the outside of your roasts to form a crisp crust.
As the food cooks inside the Römertopf, it will naturally create a delicious braising liquid in the bottom section, perfect for use in gravies or as a jus over your cooked food.
Various Sizes and Models
Available in varying sizes from small (1.5 quarts, which holds 3.3 pounds of food) to extra large (7.3 quarts, which holds 18 pounds of food), you can find a model to suit any need. The extra-large model can even cook a whole turkey!
All clay cookers have a bottom half and a top lid. Older Römertopf models in particular are completely unglazed, while the newer models employ a glass glaze in the bottom half to make clean up easier without affecting the cooking process.
Both glazed and unglazed models work the same, just take note that any glazed parts do not need to be soaked in water before cooking. Older unglazed models will need both halves soaked before cooking to avoid damaging the clay.
You can even purchase specialty mini garlic roasters or baked fruit dishes that use the same steaming principle!
How To Use A Clay Pot
Think of these clay bakers as the original slow cooker. You put everything inside, meat, veggies, starch, etc., and then walk away while the pot cooks in the oven for 45 to 90 minutes (depending on the food inside of course).
Before using one for the first time though, there are a few things to know.
First Time Use
If you purchased a new Römertopf or another clay baker, you'll want to follow the specific instructions included with it.
This will generally mean soaking the pot in water for 30-40 minutes and then scrubbing it with a stiff bristle brush to remove any clay dust or particles left over from production. This is the longest you'll ever have to soak the pot for.
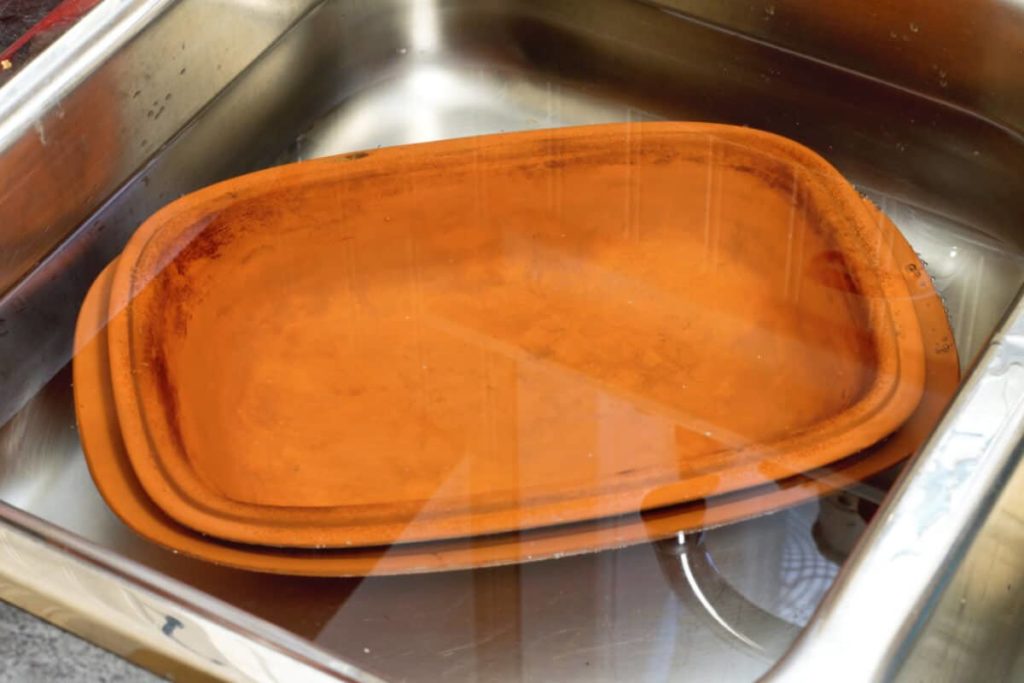
The pot is then ready for use as described in a relevant recipe.
Subsequent Use
If you already have a clay pot, found one at a thrift store, or had one handed down to you that hasn't been used in a while, it's best to soak the pot for 15-20 minutes and scrub the pot well, to remove any dirt and ensure it has absorbed enough water.
Note: Newer models will come with the bottom half glazed with a glass surface. The glazed half does not need to be soaked in water, but the un-glazed lid does.
While the pot is soaking in water, prepare any food items you plan on cooking in the clay baker. Place these in the bottom half of the Romertopf without adding any oil or fat of any kind.
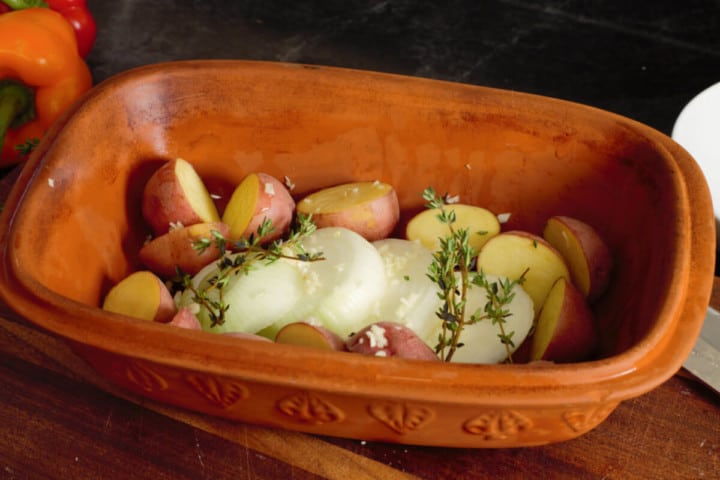
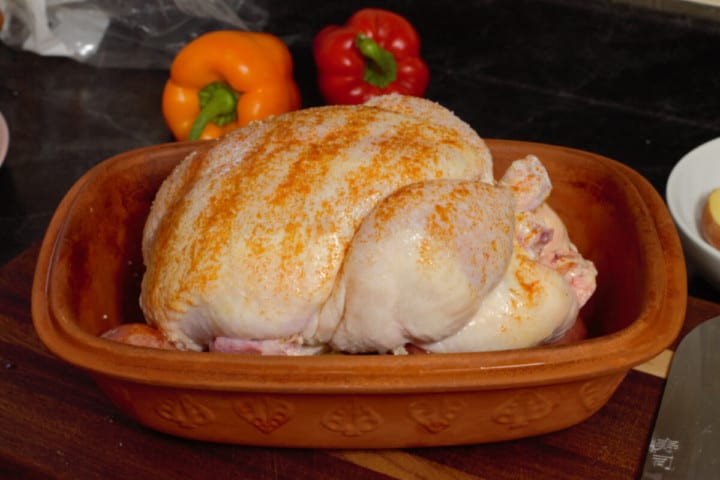
Place the wet lid on the clay pot and place the entire clay pot in a COLD oven. Set the oven temperature, and heat the oven with the Romertopf inside it. Placing the filled clay dish in the COLD oven is important to prevent the clay from cracking and breaking.
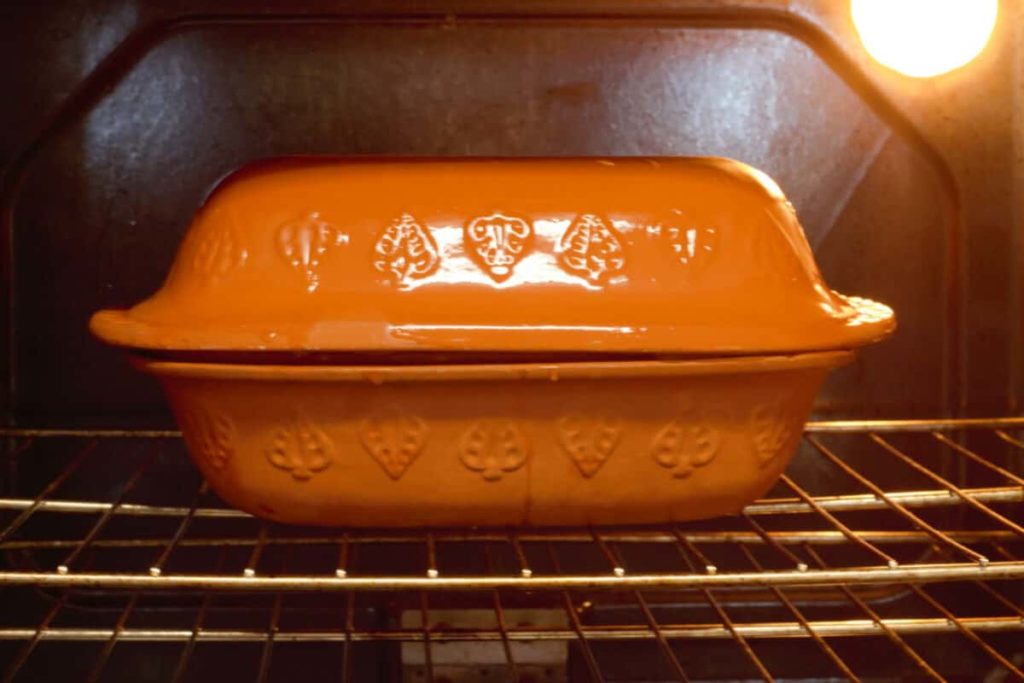
Cook the food as per the specific recipe instructions, then remove the dish from the oven being careful not to burn yourself on the hot clay. Place the dish on a wood board or dish towel, to prevent sudden temperature change (and hence any cracking). Remove the lid and serve! Any natural juices created can be turned into delicious gravies or soups.
The Clean Up
The great thing about the Römertopf or any clay cooker for that matter is the ease with which they clean up.
To clean your clay pot, simply remove any leftover food from the dish and scrub it with a hard bristle brush under very warm water. Avoid using metal scrubbers as they can create gouges in the clay. Non-abrasive sponges are fine.
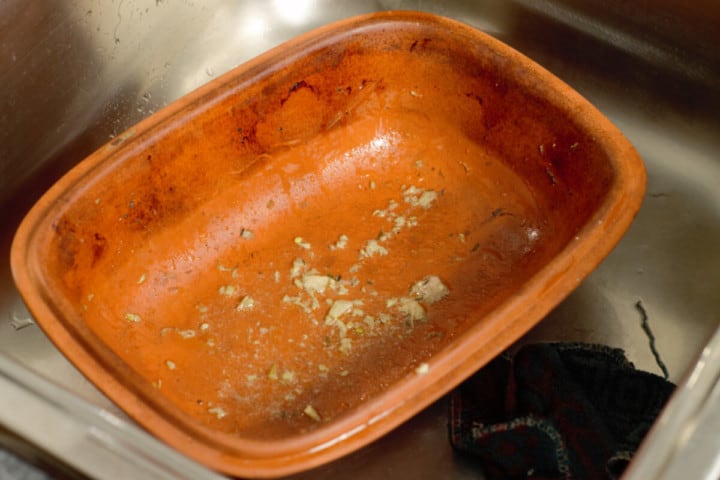
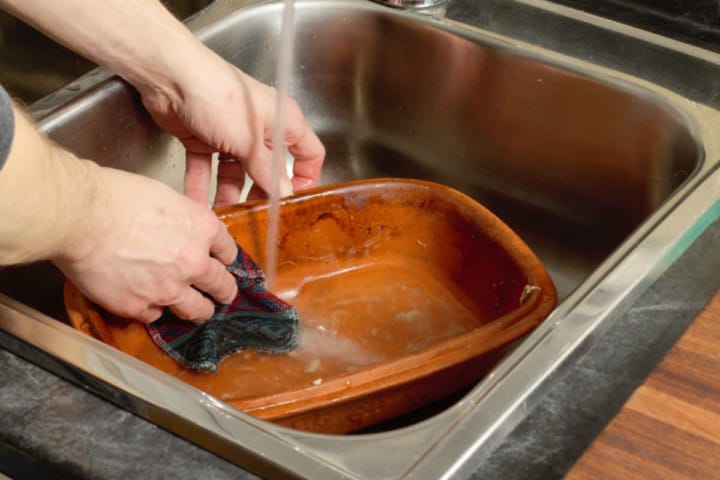
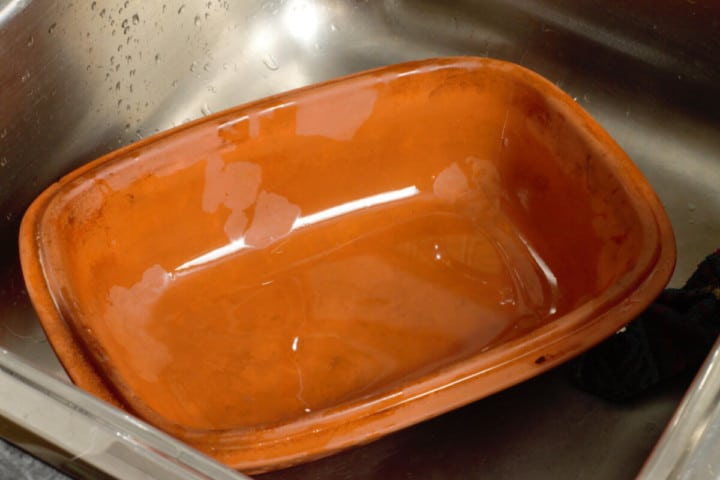
As no extra fat is added to these clay bakers before cooking, there is no need for any special soaps or degreasers to remove excess, baked-on grease. A good hard scrubbing is all that's required!
Let both the lid and the base, dry on the counter for a day to ensure no moisture is left in the clay before storing.
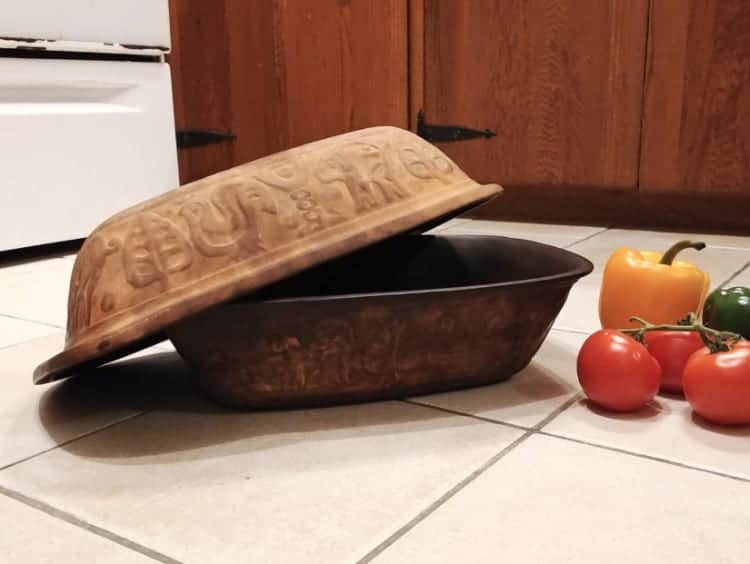
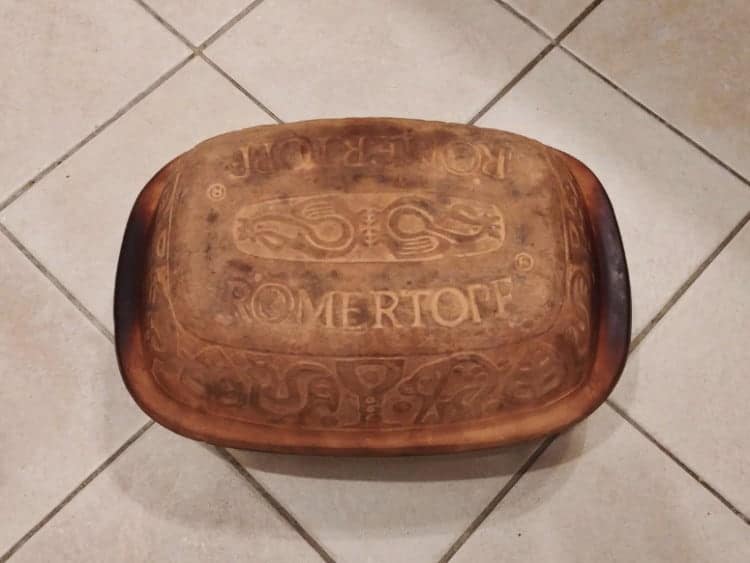
Stains and discoloration in the clay are normal and will build a sort of patina after several uses, preventing any food from sticking to the clay sides. This is my parent's well used Römertopf!
If you find the clay baker is not absorbing water as well as it used to, simply place the entire clay pot (lid and all) in a larger pot, and boil it in clean water for 30 minutes. This will act as a deep cleaning of sorts, re-opening the pores in the clay and allowing the clay to steam food as intended.
If your specific model is too large to boil inside another pot, fill the bottom section with water and baking soda (4 cups water to 2 tablespoon baking soda) and place in the oven to bake for 30 minutes at 400°F. Don't forget to start with a cold oven though!
Our Clay Pot Recipes
Just purchased a new clay baker? Try one of our own recipes!
Check back often for new recipes!
Made the recipe? Comment & Rate it below, then take a picture and tag me on Facebook. For more from scratch recipes, follow me on Facebook & Pinterest.


Cheryl Webster
I have a Litton ware simmer pot that was my mother’s. It says for microwave cooking, but am I correct that it can be used in the oven, as well?
Chef Markus Mueller
Hi Cheryl, I am not familiar with the Litton ware simmer pot, as such I can't say for sure if it can be used in the oven.
Tara
I found a glazed clay pot. It appears that both the top and bottom are glazed. Is this a decorative piece or can it be used and if so, does it need to be soaked?
Chef Markus Mueller
Hi Tara, is only the inside glazed or is the outside glazed aswell? Normally yes you would have to soak the glazed section aswell, though if it's fully glazed I'm not sure how it would absorb the water...the glaze on the inside is meant to trap moisture and create a better steaming effect.
Sharon
Did you ever create that recipe as I want to bake bread in my Romertopf?
Chef Markus Mueller
I have not yet! I am currently working on a backlog of recipes, and haven't gotten to this yet! The official German Romertopf website has many bread recipes available though. I would suggest using your web browser translate function to view the recipes in English! https://roemertopf-rezeptwelt. de/
Michele
How do I brown a chicken using my clay pot oven. I like the juiciest of the chicken, however I miss the crispy skin
Chef Markus Mueller
Hi Michele, the easiest way to crisp the skin is to remove the lid and cook the chicken the last 15 minutes without a lid. You can also brush the skin with butter or the cooking liquid to help it brown up once the lid has been removed.
Betsy-Jane Scott
I bought my Römertoph back in 1971 in my first year of teaching in Walvis Bay in what was still South West Africa - now Namibia. It is THE best way to roast a chicken. I still use it to this day…. It holds its flavours beautifully. It’s a pity you don’t see them around much anymore.
Ann
I bought a Natural Red Clay 6 quart roaster at a garage sale! I knew it was a good deal when I picked it up. After reading your informative post I'm really excited to try it and about the great deal I got! Hope to see more recipes for a clay roaster.
Susan
Hi,
I want to use my Romertopf to bake rye bread. I always preheating my my oven and dutch oven or stone for 45 minutes. I have never not done this. How will not preheating my oven and Romertopf affect the ovensoring for my rye bread?
Susan
Chef Markus Mueller
Hi Susan, you are absolutely correct, the bread would be affected by the fact the romertopf is going into the oven cold. The way around this is to pre-heat your oven with the romertopf inside it! I would try soaking the romertopf for 10 minutes, and then placing in the cold oven and pre-heat to 375F to 400F. Once the oven is pre-heated, carefully remove the hot romertopf from the oven, place it on a cloth towel on your counter(to prevent temperature shock), and then turn out the fully shaped and proofed bread dough into the hot romertopf. Close the lid and bake for about 20 minutes, then remove the lid and bake until done. Exact timing will require some playing around of course based on your specific bread recipe. I would suggest using oven proof parchment paper to help transfer the dough into the romertopf as it can stay in the pot with the dough. The moisture given off by the romertopf as the bread bakes will act similar to how a pan of water in the bottom of the oven would act when baking bread.
Let me know how it goes! (and I'll work on a romertopf bread recipe to post as a guide!)I'll need a few weeks to test and perfect it though!
Ria
Just made our favorite Romertopf chicken recipe this weekend. It comes out perfect every time . Now I just need to find a slightly larger one as chickens being sold are getting a bit bigger than the pot. I also like to create a bed of veggies & herb sprigs for underneath.
I will have to give your recipe a try. Hope you post more soon.
Next, is baking bread in it????
Stephen Anderson
My wife and I were married in '73, and the clay pot was the rage during those years. We had many great chicken and pork dishes, along with vegetables, and the taste was something you just don't get in most cast iron Dutch ovens. Found one at Goodwill a few weeks back and I'm going to use it tonight for chicken breasts. That's what prompted me to look up and see if anyone is still using this relic. They won't be disapointed if they come on to one sometime. Thank you for your interesting perspective on the Roman Pot.
Chef Markus Mueller
Hey Stephen, Glad you liked the post! It is a unique cooking tool indeed!
Donna
I got a clay pot as a gift years ago never used it. Want to start cooking with it so it is unglazed so how do I season it for the first use.
Chef Markus Mueller
Hi Donna, if you have the original instructions from the manufacturer, follow those instructions for first time use. Otherwise follow the instructions for soaking the pot in water as described in the section of our post titled 'First Time Use' and 'Subsequent Use'. Basically you'll simply soak the unglazed pot in water for about 40 minutes and then scrub it with a hard bristle brush to remove any dust or dirt from the factory. There is no 'seasoning' required, only soaking the pot in water to let the clay absorb the moisture.